By Charles Ayash
Posted on Monday, May 26th, 2025

My shop is small, and space is at an absolute premium. Over my decades in the business, I’ve learned that the worktable is the heart and soul of the shop. While the movement of your workflow is essential, the worktable is always the central point.
To do this essential task, the table must be large enough to accommodate the materials you use regularly. Mine is 5-by-12-ft. and I have never wished it was any smaller.
It also must have a durable surface that facilitates cutting and withstands tens of thousands of cuts. I started 33 years ago with a smaller table and a 24-in. Graphtec plotter. Eventually I progressed to a 48-in. wide plotter and a worktable with plastic laminate surface. That proved to be a bad idea, and using cutting mats was even worse, due to the high cost.
When I moved into a larger workspace, a friend brought me two 27-in.-by-12-ft. solid surface panels. (They were blemished and FREEEE!) But solid surface material leaves particles when you cut on it, and that was a problem. I was told to coat it with epoxy, but the result was a disaster.
A durable cutting surface
At that point I spoke with the reps at Piedmont Plastics. I bought a 5-by-12-ft. sheet of ½-in.-thick High-Density Polyethylene [HDPE], also known as “High Healing Cutting Board” material for $460. I never looked back.
This material is not cheap—the cost of a sheet today is around $750. But it’s worth it. You can get it through your plastics supplier. In my area, both Piedmont Plastics and Calsak Plastics carry it.
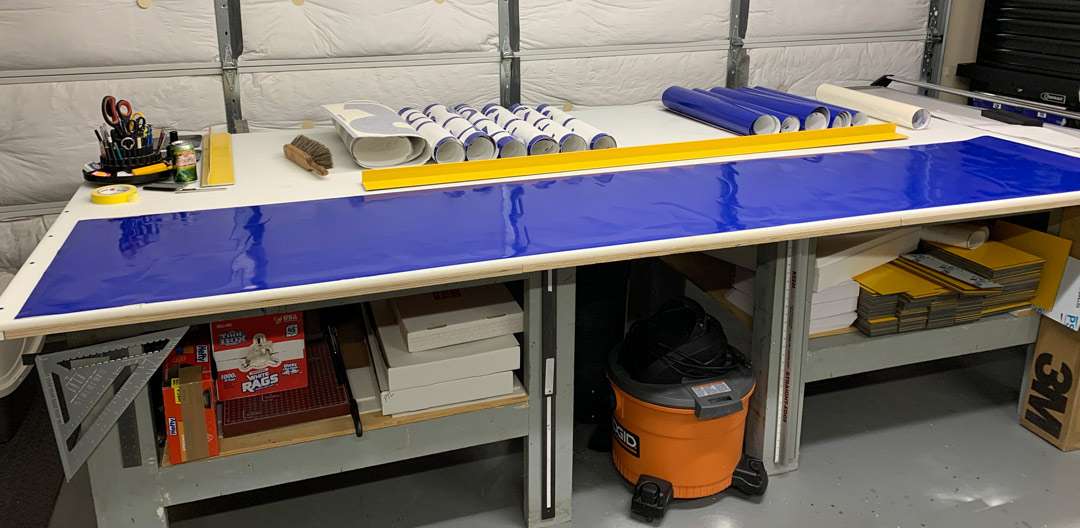
HDPE comes in matte, textured or glossy finish, and I use the glossy material. Tapes do not adhere well to the material with a matte or textured finish. When you are assembling graphics on smaller signboards you need the tape to adhere to the tabletop, so make sure you buy the glossy plastic.
Maximizing the plastic top
I work primarily on one quadrant of the top at a time. After a year or two, the surface in that primary work area degenerates from all the cutting, so I do a clockwise rotation and start working on the little-used portion.
In a year or two you flip the material over and work on the unused side. You get a total of eight new work areas before the sheet is completely worn out. It’s heavy, so it takes 2 or 3 people to flip the sheet.
I’ve been using the board you see in these photos for several years now. I turned it over a few years ago after wearing out the first side. I’m still another year or two from the final rotation.
Getting the most from the worktable
A table like this is absolutely essential if you are printing 54-in. media or cutting film to shape and weeding. It will accommodate materials up to 60-in. wide, and if you are plotting self-adhesive 48-in. vinyl, that’s even better because it gives you a little extra room.
The base should be sturdy, flat and level. I used 5/8-in. B/C plywood over a hefty frame and legs. If I had my way I would use European-style kitchen cabinets with removeable legs, then add floor pads to create a finished height of 34- to 35-in.
My worktable is the central workspace in a 20-by-20-ft. room that is accommodating, but a little cozy. In this room resides a Latex 560 digital printer, a 64-in. laminator, a Graphtec 8600 64-in. cutter and a RIP Computer with 27-in. display.
I have another room for design and plotting plus a third room for stowing media and such, but the big worktable is the heart of my productivity. In this business no matter what you do, it goes to the table.
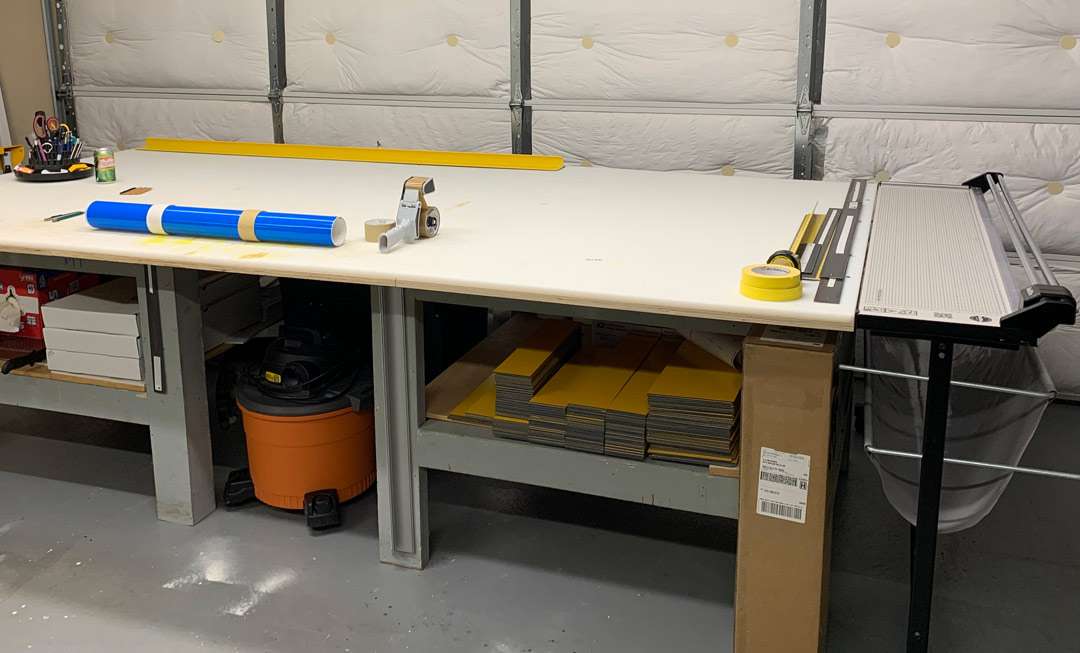
On the table
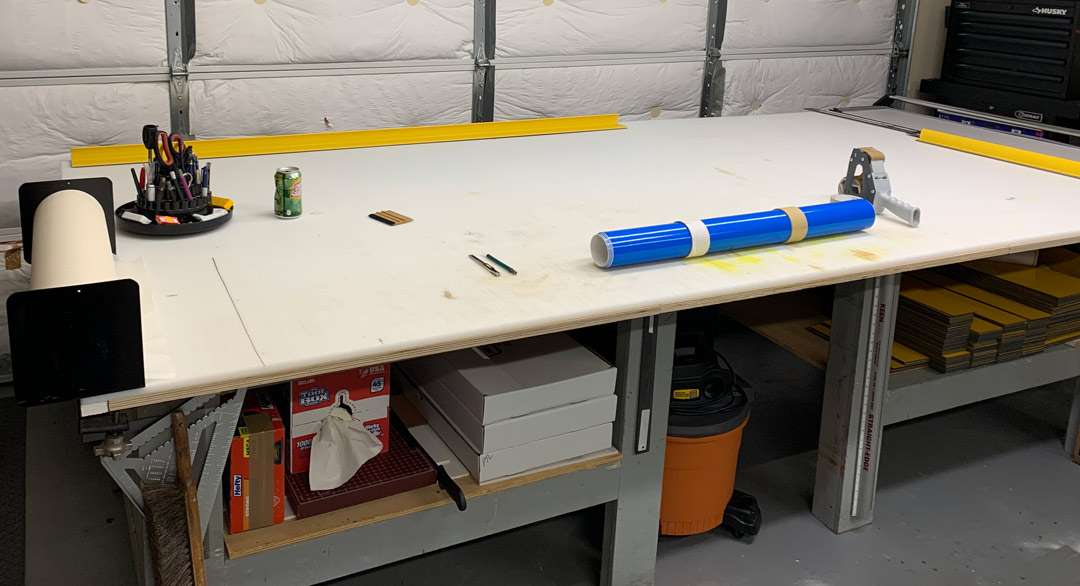
Take a look at the items on the table. The pen caddy is essential. You can stow the things you reach for constantly in one place—pens, pencils, stencil knives, scissors and more—and move it wherever you need it. The soda pop can is where the used blades from the snap-blade knives go.
If you are using Uline S-422 brown tape, save the empty cores. They are an easy, reusable way to contain rolls of vinyl like the roll of blue vinyl in the photo. If you cut a lot of vinyl, you can quickly produce several rolls of cut graphics ready to weed and apply. Rolling them to this diameter as they are cut protects the material and makes the lettering release much easier after cutting. That makes weeding an absolute breeze.
The roll of transfer tape is on the EZ Masker, which has mounted end frames with an adjustable clamping screw. I use it with 24-in.-wide media. Sadly this masking tool is no longer produced. If we need to lay down transfer tape that is wider than 30 inches, we use the laminator.
Those long yellow straight edges that you see on the table are pricey but worth every penny. We use them every day.
If I had the space I would not hesitate to have two tables like this. They create a very fast work environment and help the jobs move through the hop quickly.
Charles Ayash’s shop, CA Graphics, is in Snellville, Georgia.
