By signcraft
Posted on Monday, September 22nd, 2025

It’s easy to look at a sign and notice the layout and the colors, but most creative sign people go on to look at how the sign maker put it together. Building sign structures that are appealing yet affordable to make is an art itself.
For over 41 years, Peter Poanessa has been designing and building custom signs from his shop, Keene Signworx, Swanzey, New Hampshire. His focus has been on creating signs that draw customers for his clients yet be fabricated practically in his 2800-sq.-ft. shop. He builds them to last—a 20-year lifespan is not unusual.
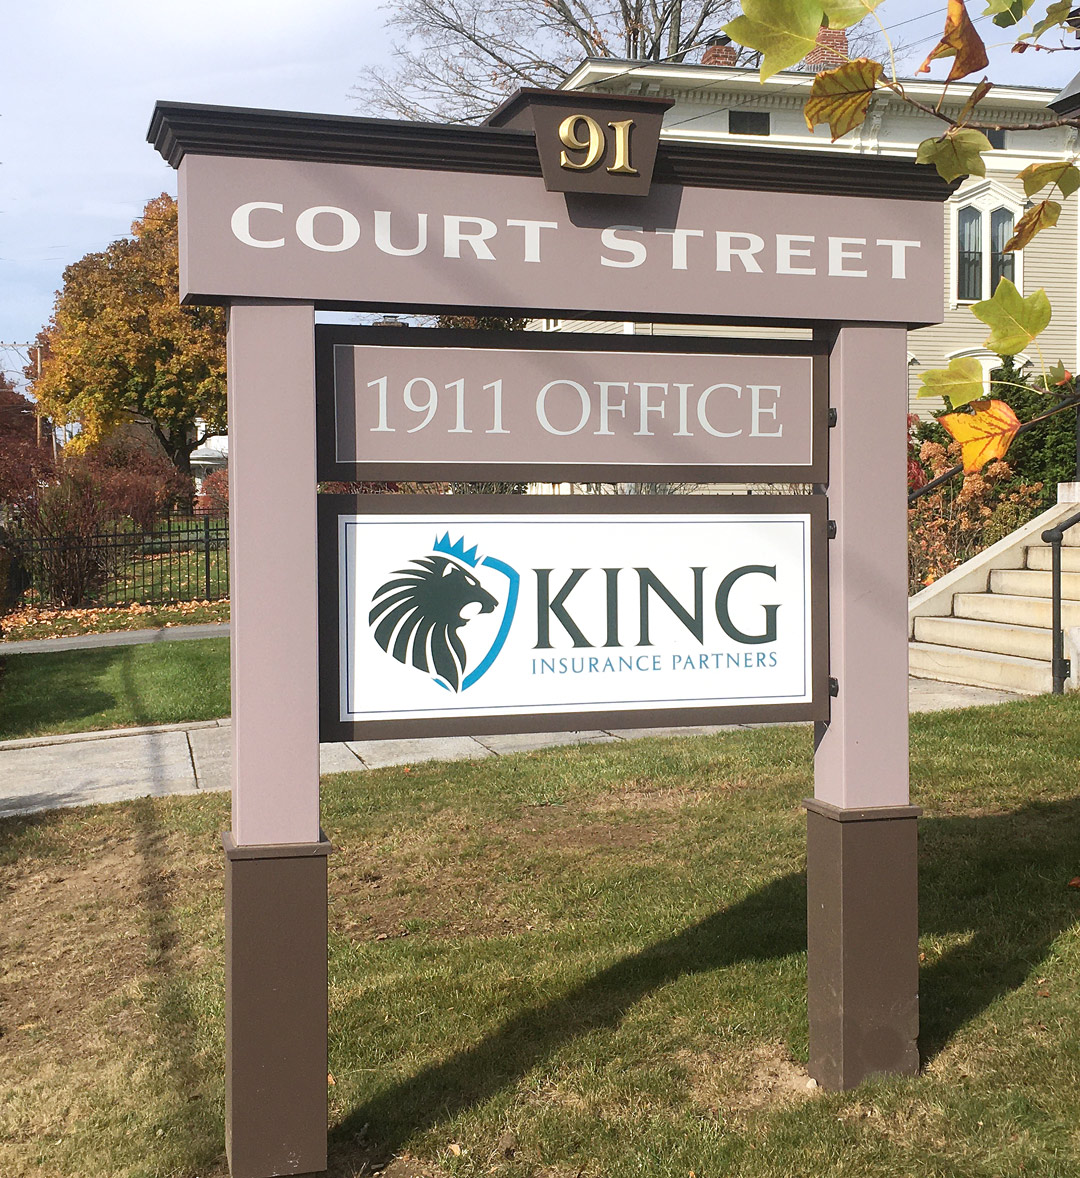
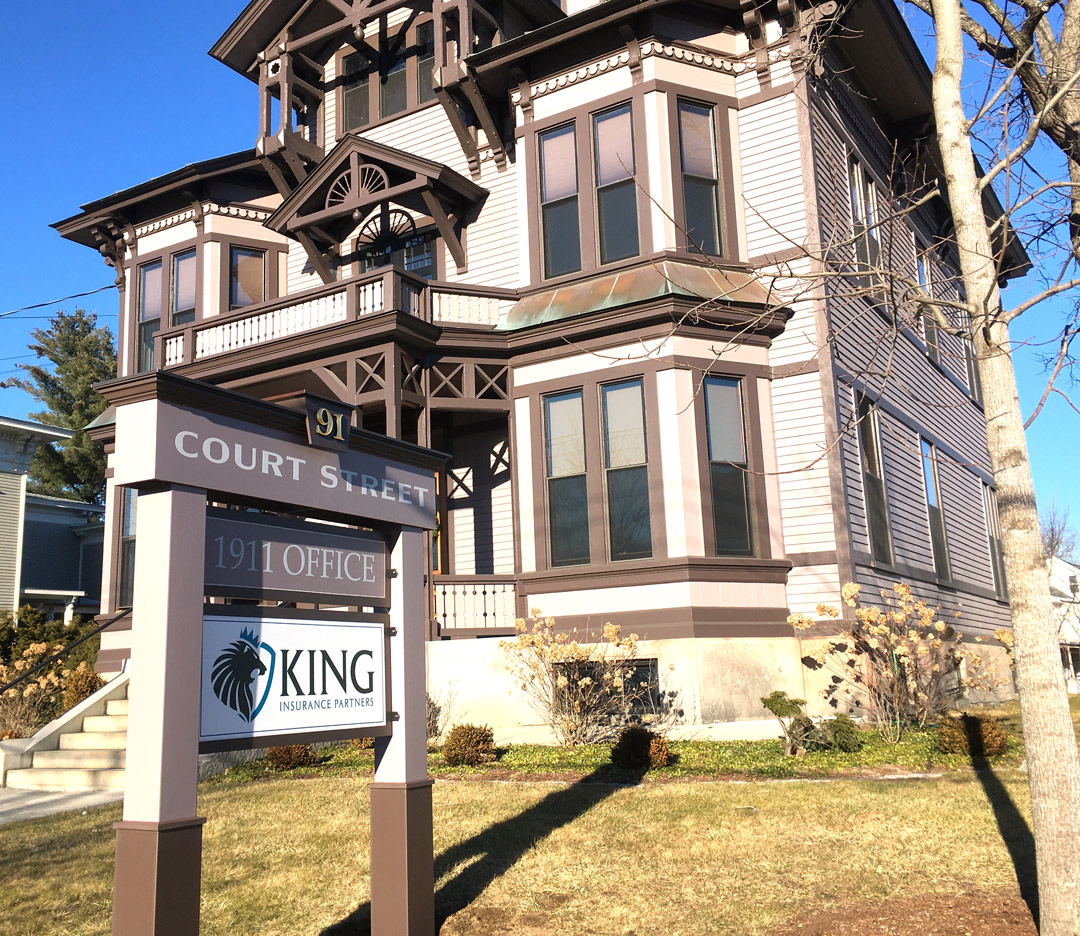
We asked Peter to walk SignCraft readers through a few of his projects, explaining the materials and finishes, along with the production techniques that make them possible. This sign for a Victorian home that was converted to office space is a good example. The “1911 Office” panel is 48-by-12-in. and the King Insurance panel is 48-by-20-in. We’ll let Peter tell you the rest.
“This client had seen another sign we did for a Victorian home that had been converted to offices,” says Peter. “They wanted the same thing—a sign that was inspired by the home’s architecture.”
Fonts: “I used three fonts on this layout. ‘Court St.’ is Efco Godfrey by Gary Godby. It has a small serif which gives it an interesting look. It comes with four or five versions from condensed to very extended, which makes it really versatile. This is the Extra Wide font but the condensed versions are very nice, too. ‘1911 Office’ is Palatino and ‘91′ is Isabelle. Isabelle has very nice numerals, and I use them often.”
The sign cabinet: “The top portion of this sign,” says Peter, “is essentially a cabinet or box made of ½-in. PVC board with PVC crown molding from the local lumberyard. The sign panels were fabricated using what my sign friends call the Keene System. [See “The Keene System: Fabricating strong, lightweight sign structures”.] We developed it here and use it for 80% of the signs we build. In this case, 3mm aluminum composite material [ACM] was bonded to a frame of 1-in. thin wall aluminum tubing. On other signs, we often use ½-in. PVC board as the substrate.
“It’s an easy-to-build sign face that is so flat, stiff and light that it is hard to beat. It’s the most efficient way to build a sign cabinet or sign face that I have found. It’s not only fast but you end up with a very superior sign product.
“I cut the components from PVC board then assembled it using Lord Adhesives 40619. Lord’s 40619 is similar to their SignLok 850 but comes in a smaller dispenser. SignLok 850 comes in a large dispenser that’s almost like a caulking gun. That makes it harder to apply the small beads of adhesive that we often need, as when bonding small letters to a substrate. 40619 is much easier to handle.
“For any of the framing members that will have to accept a fastener to mount the sign, we rip PVC or HDU down to fit inside the 1-in. thin wall aluminum tubing. This adds a lot of strength to the tubing, which otherwise would not hold fasteners very well. Reinforced this way it holds screws well and won’t collapse if you bolt through it.
“On this sign, we did that on the framing members on the sides that mount the sign face to the posts. A small bracket was screwed into the edge of the sign panel. It has an ear on each side that lets us screw the panel to the posts.
“The keystone is also PVC board, but the ‘91′ is CNC-carved SignFoam HDU finished with gold leaf. It’s finished with the same Sherwin-Williams acrylic enamel that was used on the building.”
Protecting the top: “We capped the top surfaces of the upper cabinet with .040 aluminum. We could leave them just PVC board but the top of the sign was visible from the office windows. If you paint a flat surface like that, the paint won’t last in the long term between the sun, water, snow and ice sitting on it. Cladding the tops with dark bronze aluminum resolves the durability issue.
“We make these caps about a half-inch larger than whatever they cover. Then we bend a 3/8-in. lip down to create a little drip edge that prevents much of the dripping water from running down the painted PVC face. This helps extend the durability of the finishes.”
The post wraps: “The post wraps were also PVC board and were built the same way as the upper cabinet. At installation, we set the wood posts then slid the post wraps—essentially just open-ended PVC boxes—over them.
“The bottom wraps were made slightly larger than the post wraps so they were loose enough to slide down over the post wraps easily. We cut a trim ring out of PVC board on the CNC router that slid down over the post wrap, capping the bottom wrap and hiding any gaps.”
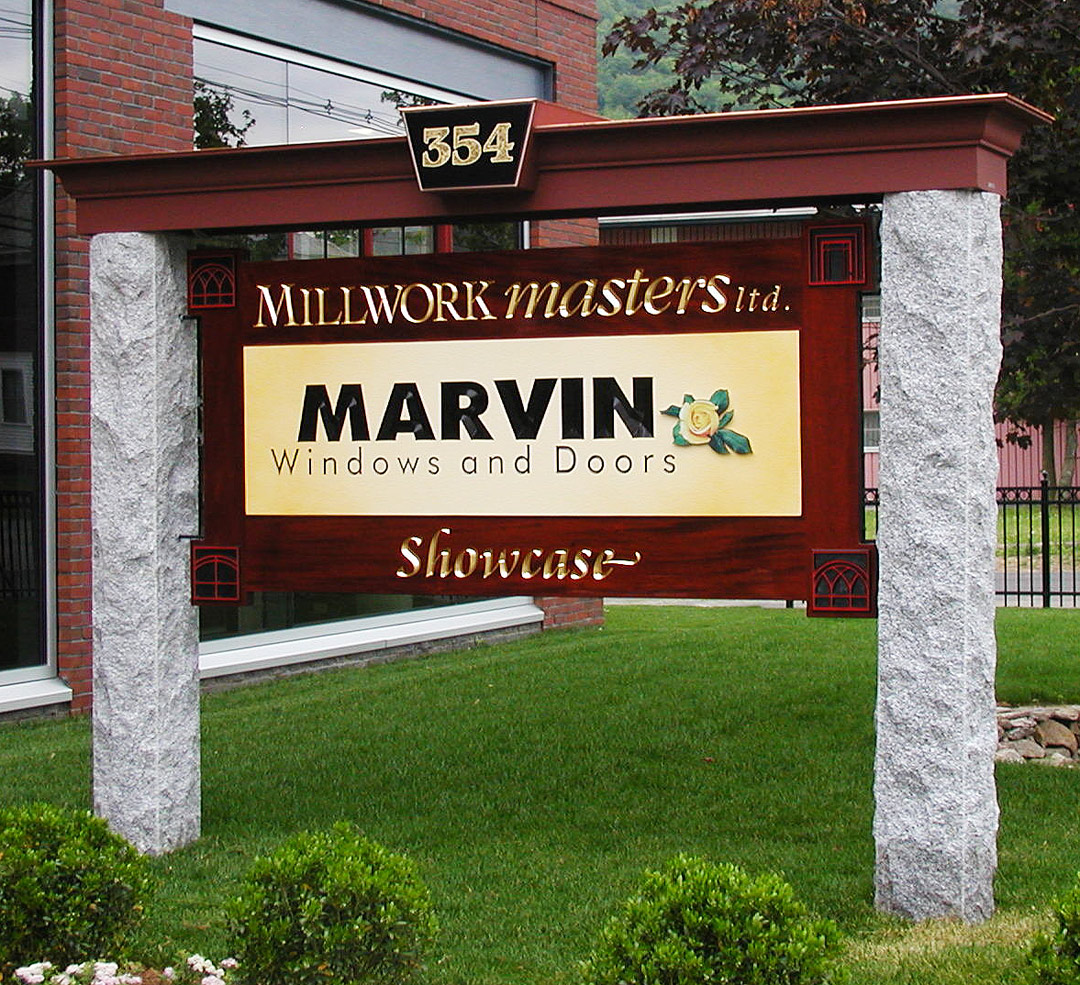
“This is the sign that caught the eye of the client at 91 Court St. It has raised letters, carved medallions on the corners and a sandblasted background. The client wanted the sign to be lighted from above but didn’t want to see any wiring. We had to have the granite company drill a hole lengthwise through the granite post to accept the wire, which was costly.
“This was a very expensive sign. Looking through photos of our work, prospective clients often stop at the photo of this one and say, ‘I want a sign like that….’ I have to say, ‘Maybe, but maybe not….’”
