By Chris Lovelady
Posted on Friday, January 7th, 2022

While working on a large sandblasted sign for a local restaurant, I kept trying to think of an easy, unobtrusive way to assemble and mount it. I didn’t want to put lags through the sign face. For a sign this size, that would have been a torturous installation—and ugly, too.
I had seen the Panelclip by Brooklyn Hardware advertised in SignCraft. I called them and told them what I was up against. It sounded like it would make a clean installation with no trace of how the sign was installed. I downloaded their installation instructions and decided to give it a try.
To keep the three 4-by-8-ft. panels aligned, I planned to use biscuit joints. This is a common cabinetmaking joint where a deep groove is cut in the edge of the material to accept a wafer or “biscuit” that fits into a corresponding groove in the edge of the next piece of material.
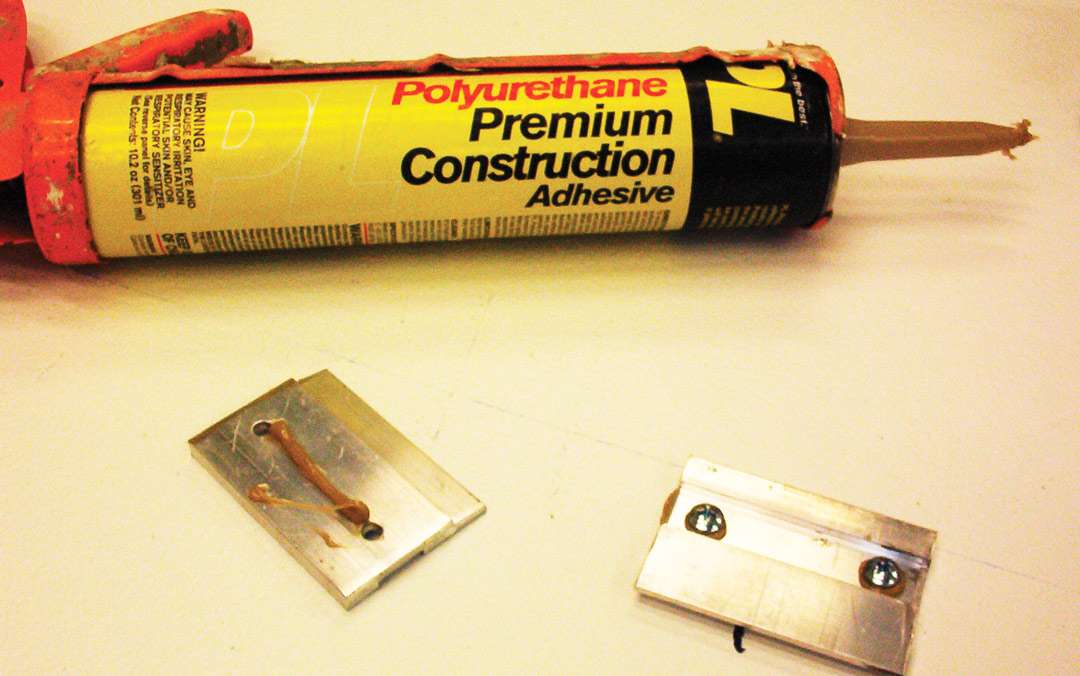
I was concerned about the aluminum pulling off the high-density urethane board [HDU], so I made a couple of samples using construction adhesive and screws and tested them. I just about had to destroy both the aluminum and HDU to get them apart. I can’t imagine the sign getting that much load under normal conditions to make it come down.
The photos show how the faces went together and the installation unfolded. It all went smoothly. The complete installation took about 4 hours.
Chris Lovelady’s shop, Vital Signs, is in Thomasville, Georgia.
This appeared in the July/August 2005 issue of SignCraft.
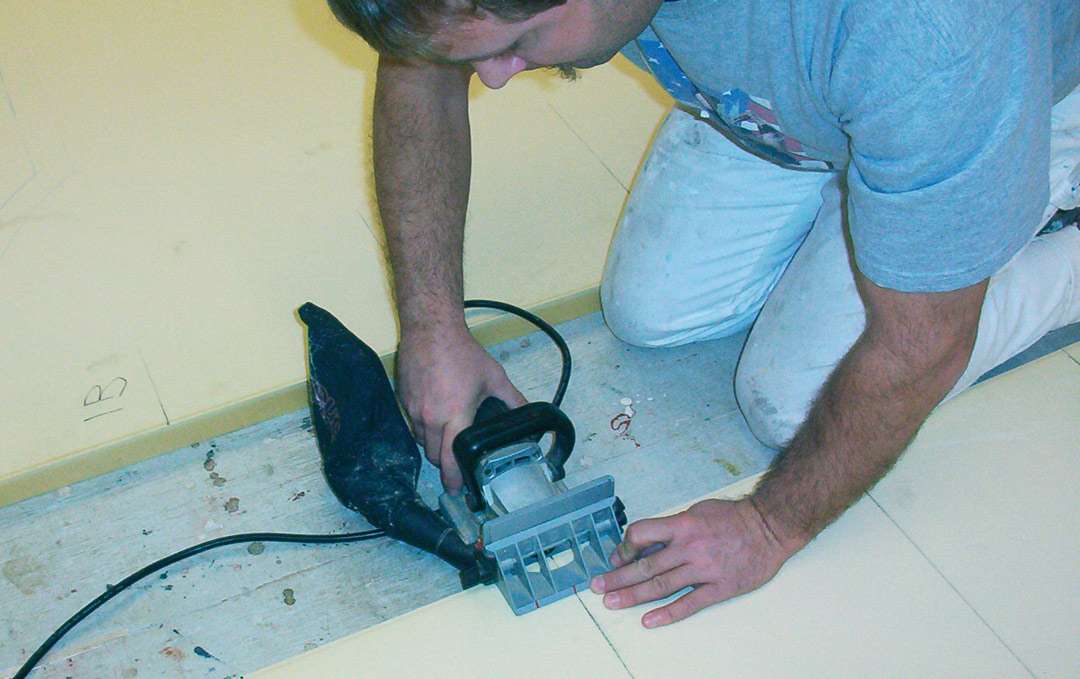
A biscuit joiner was used to make the joints in the high-density urethane panels. This tool is widely used in the cabinetmaking trade and has a lot of applications for sign work, too.

Here you see the biscuits installed in one section and the panels marked for installation.

The “story stick” made layout on the wall a breeze. After I laid the faces on the shop floor and determined how many rows of clips I wanted, I marked the back of the sign. Then I marked those same measurements on the story stick, which is simply a scrap of wood to make transferring the measurements to the wall easier.

Construction adhesive and screws hold the Panelclips to the 15-pound Precision Board HDU. The clips that go on the back of the sign are two inches long.
Here are the faces with the Panelclips installed. We were ready to head to the site.

Once I was on site, all I had to do was determine where the top of the sign would be, then use the story stick to mark the rest of the lines that we needed to snap.

Once the wall was marked, we snapped the lines and installed the 6-ft. sections of track on the stucco wall.


Here’s the first panel going up. We found we couldn’t slide the faces much, so we had to position them as closely together as possible and tap them together.

Screwing a strip of aluminum to the wall that reached down to touch the top of a clip or two locks the sign in place.

There’s no trace of the joints or mounting hardware on the finished signs.
