By Chris Lovelady
Posted on Friday, April 1st, 2022

One of the hardest-working types of signs is the everyday way-finding sign that guides people through a building or around a campus. They may seem routine, but to the person who is on their way to an appointment, a class or a meeting, they make the difference between getting there on time and wandering around asking for help.
Material Costs
Letters and flush stud mount panel: $175
Labor
Draw, pounce and transfer pattern: 10 minutes
Glue letters in place: 15 minutes
Installation: 30 minutes
Total time: 55 minutes
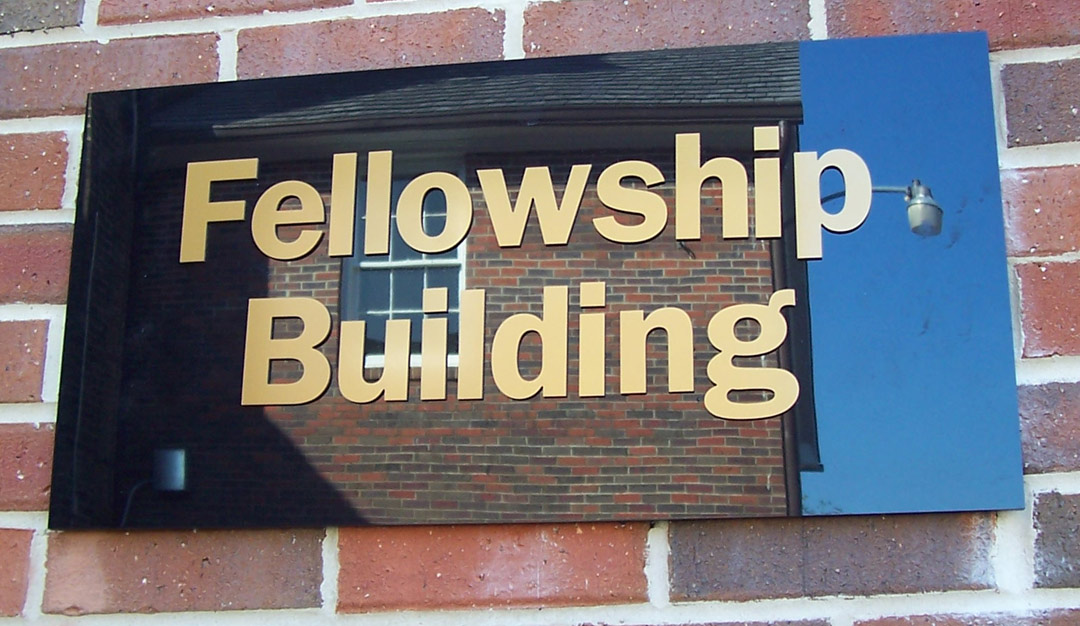
This sign was part of such a project—eight identification panels like the one you see here, each installed adjacent to a doorway. Budget, longevity and legibility were the most important considerations, so I specified flat-cut acrylic letters on a 12-by-24-by-3⁄8-in. acrylic panel. Gemini Inc. produced and provided the letters, stud patterns, and drilled and tapped background panels; our shop designed, produced and installed the signs.
Chris and Debi Lovelady’s shop, Vital Signs, has two locations: Thomasville, Georgia, and Tallahassee, Florida.
This appeared in the May/June 2011 issue of SignCraft.

Draw, pounce and transfer the pattern: 10 minutes
I created a pattern from the file I sent to Gemini. I drew it on our plotter and perforated it, using the electric pounce. I used this pattern to give me the letter placement on the acrylic panel.


Glue letters in place: 15 minutes
I use ISP Weld-On #16 acrylic adhesive to bond the letters to the panel.

The pounce pattern makes it easy to position the letters. Here you can see that I’ve chalked the pattern onto the panel and I’m gluing letters in place.

It just takes a few minutes to to peel off the protective mask: Gemini delivers the letters with transfer tape on the face of the letters. I always leave it on as I’m gluing everything up; it protects the face of the letters and keeps glue and fingerprints off the surface. Once the glue is dry, we peel the transfer tape off.
Install on site: 30 minutes
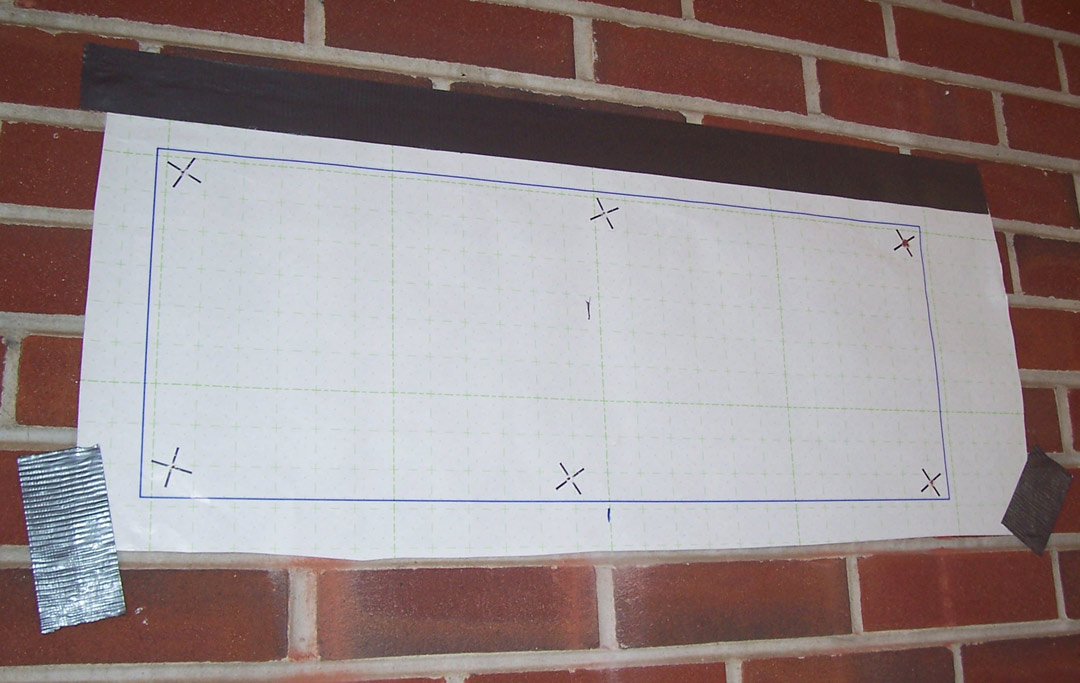
Gemini tapped stud holes in the back of the panel and provided the pattern for the stud mount, along with the threaded rod for the studs. We taped the pattern in place and drilled holes in the brick.

Once the holes were drilled, we filled them with clear silicone and slid the studs into the wall to mount the sign.