By Shane McNair
Posted on Friday, October 3rd, 2025

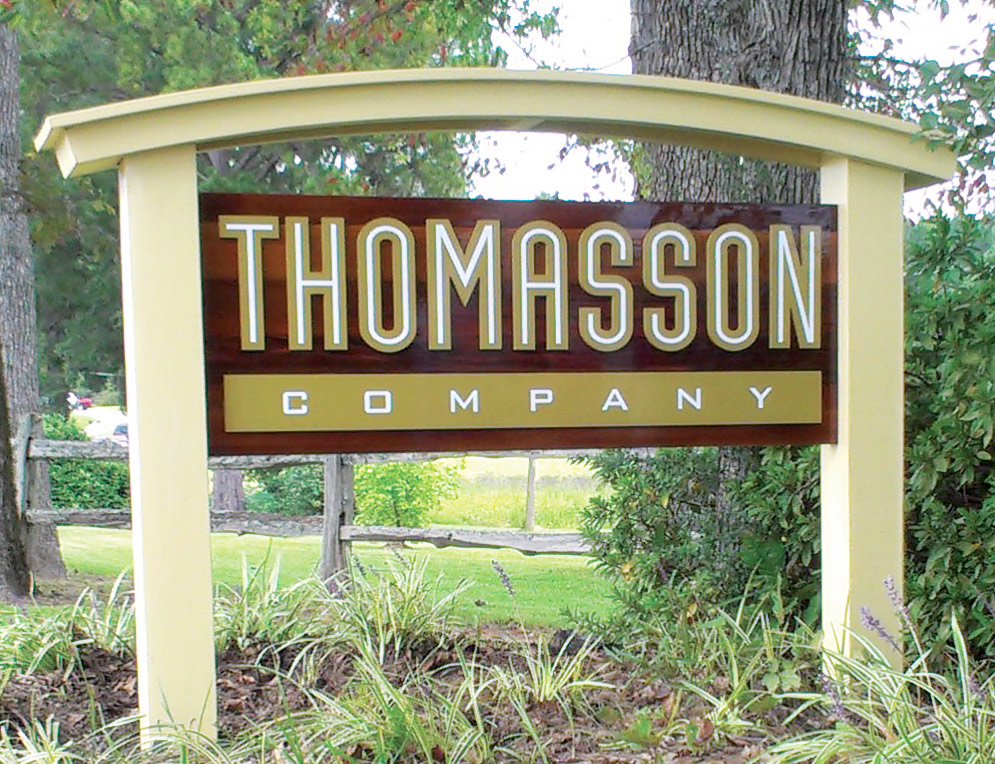
Often in the sign business we are called in to repair or renovate an existing sign. Such was the case with this monument for a local company that produces pressure-treated poles and pilings.
Materials:
Total materials: $2084
Labor:
Total time: 44 hours
The first sign was just as nice, but could not hold up to our southern sunlight, humidity and termites. It started showing signs of failure within six months of installation. About four years later, I was contacted about restoring it. Initially I thought I was doing a touch-up—I didn’t realize I was getting into a complete rebuild.
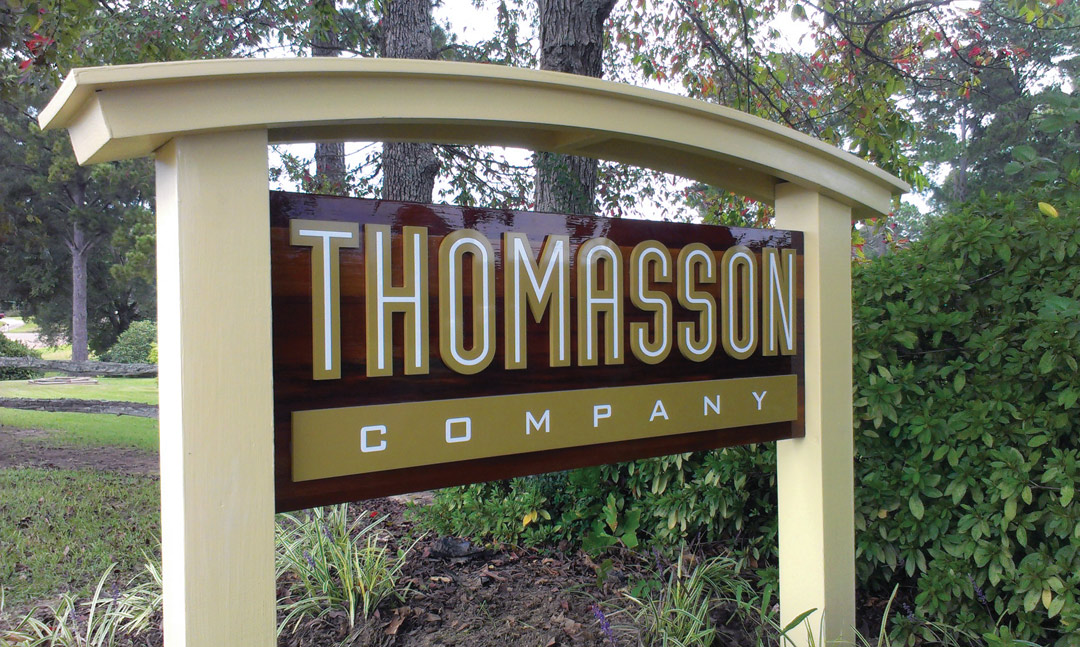
The only components of the original sign that I could re-use were the 4-by-4-in. steel posts and the arched top member, which was made of PVC board. Everything else was damaged by either weather or termites. The sign was literally falling apart. My intention was to build a durable wood sign that will require low maintenance and much longer life.
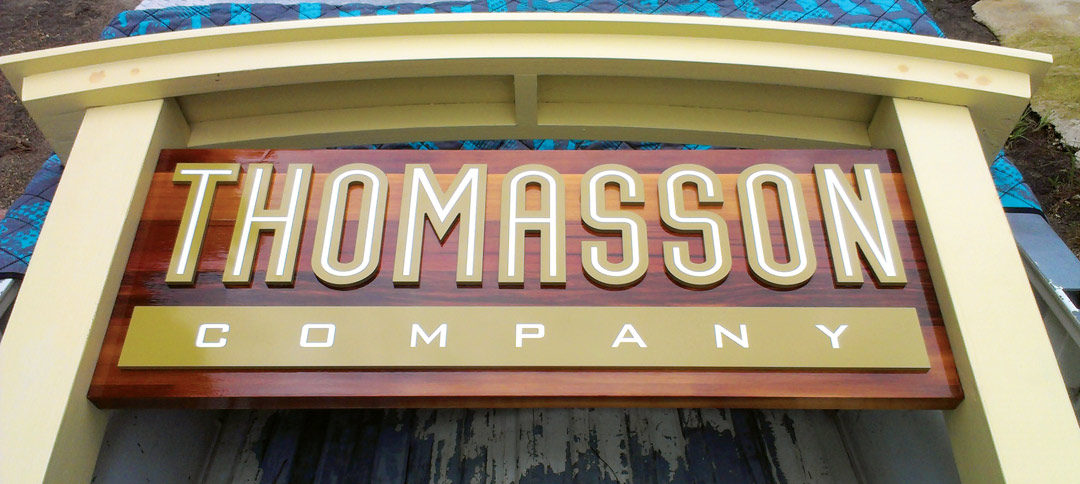
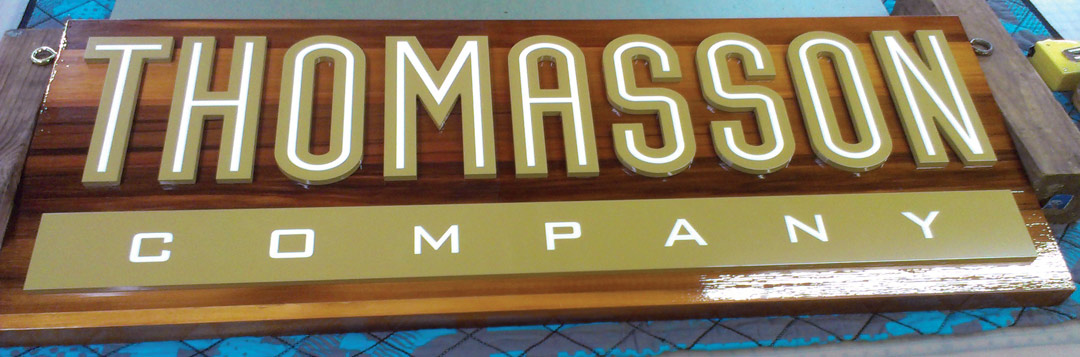
The sign face is an Allwood western red cedar panel. I finished it using Epifanes Gloss Clear Varnish, a clear finishing system that is used on saltwater boats with great success. That’s what sold me on it. I researched the options for clear finishes that hold up well outdoors, and this approach is used in marine applications with good results.
The sign has been up for nearly three years, and so far it is holding up well. An occasional washing with a bit of mild detergent in the water keeps it looking as good as it did the day it went up.
Shane McNair’s shop, McNair Signs and Graphics, is in Carthage, Mississippi.
This appeared in the November/December 2014 issue of SignCraft. While the prices have been adjusted for inflation as of 2025, they may not accurately reflect current pricing for such signage.
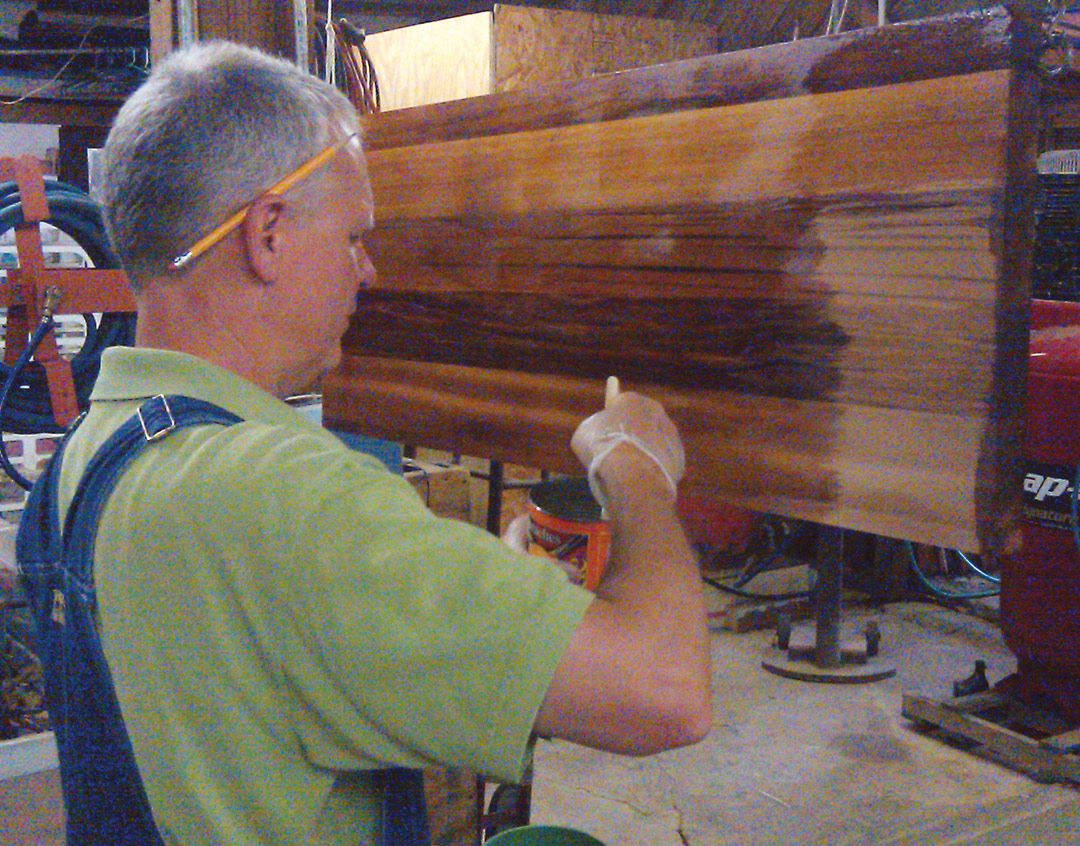
I started with an Allwood red cedar sign blank . I sealed it with four coats of Smith’s Clear Penetrating Epoxy Sealer. Per my research, Smith’s CPES is a trademarked product and is different from other brands of sealers. I put the first two coats on back to back, then the next two coats the following day.

I followed with 12 coats of Epifanes Gloss Clear Varnish (High Tung Oil), which I got from Jamestown Distributors [www.jamestowndistributors.com]. The instructions say to apply the coats of varnish 12 hours apart so that each coat can bond to the previous one before it has completely cured.
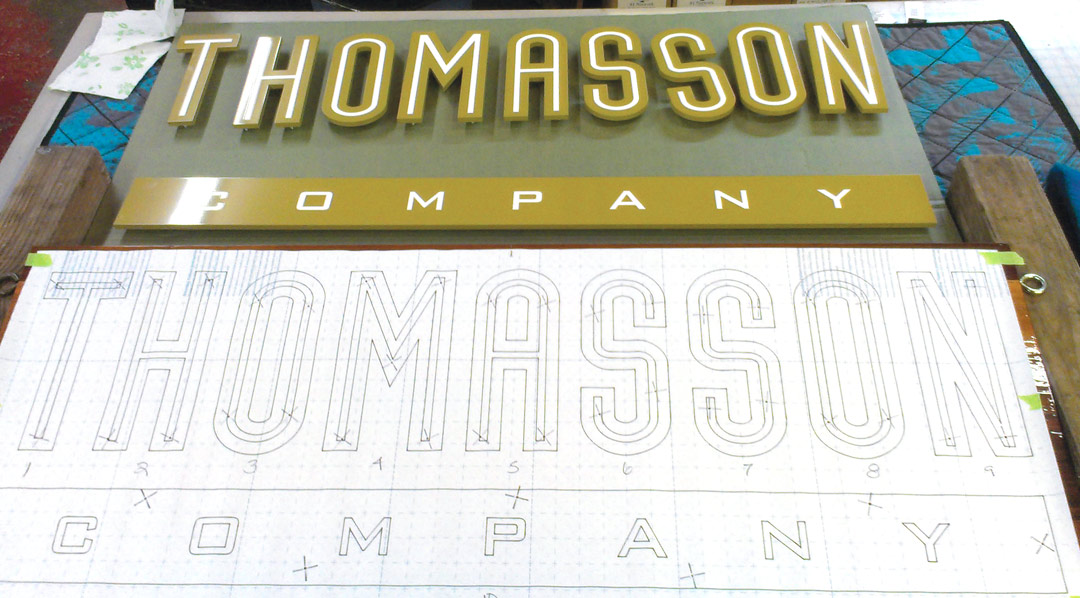
Next, I put the pattern on the cedar panel and marked the holes for the Gemini stud-mount flat cut acrylic letters [www.signletters.com]. I sent Gemini the EPS file for the letters. They cut them from 3/8-in. acrylic, then finished them in the Pantone color that was required.
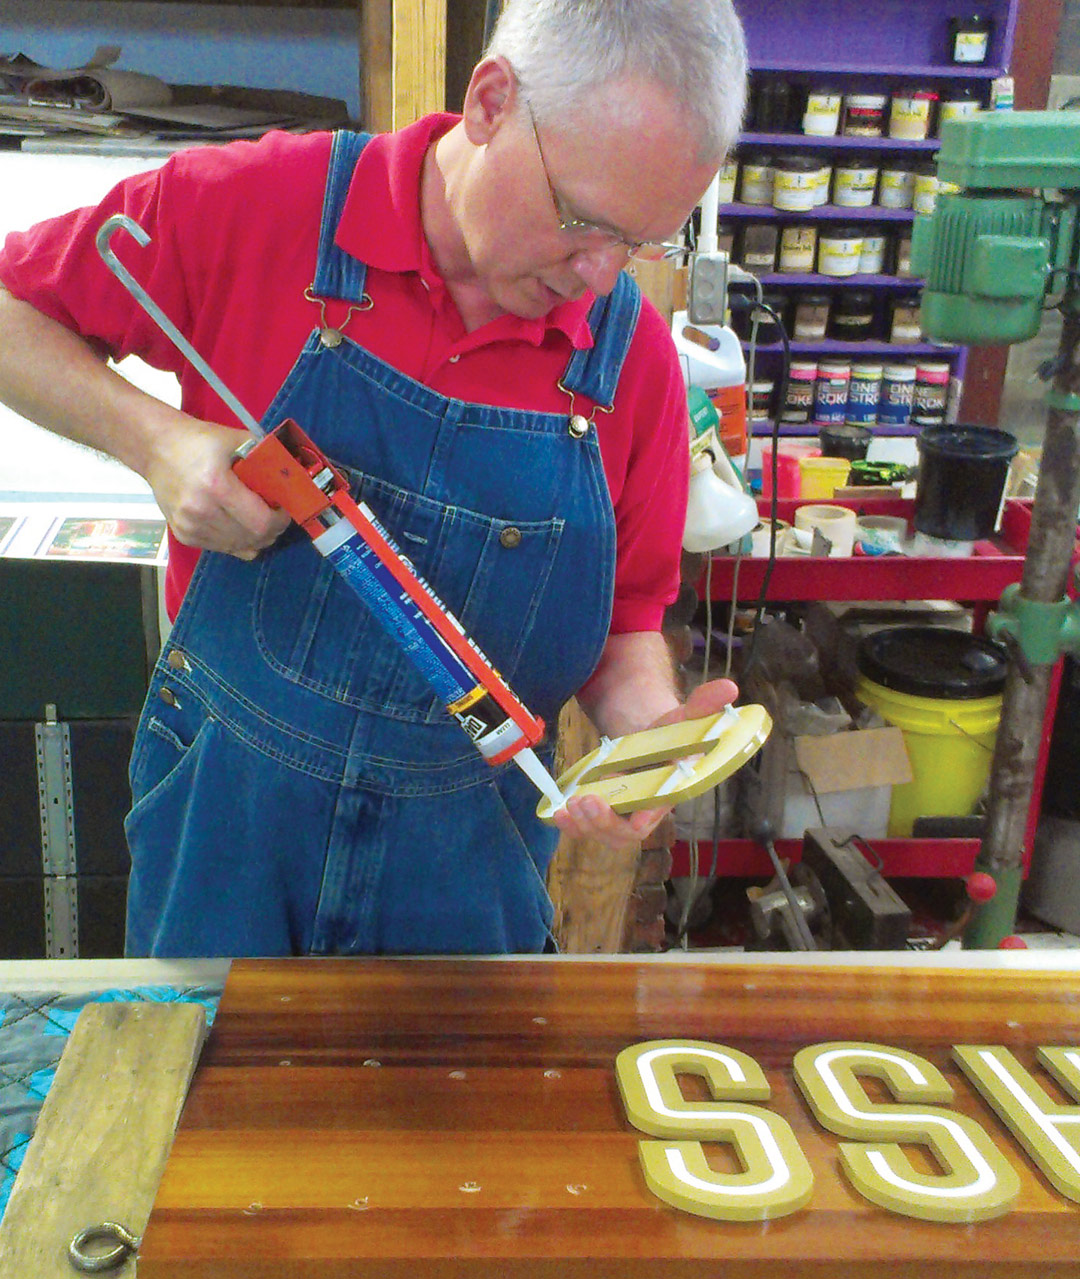
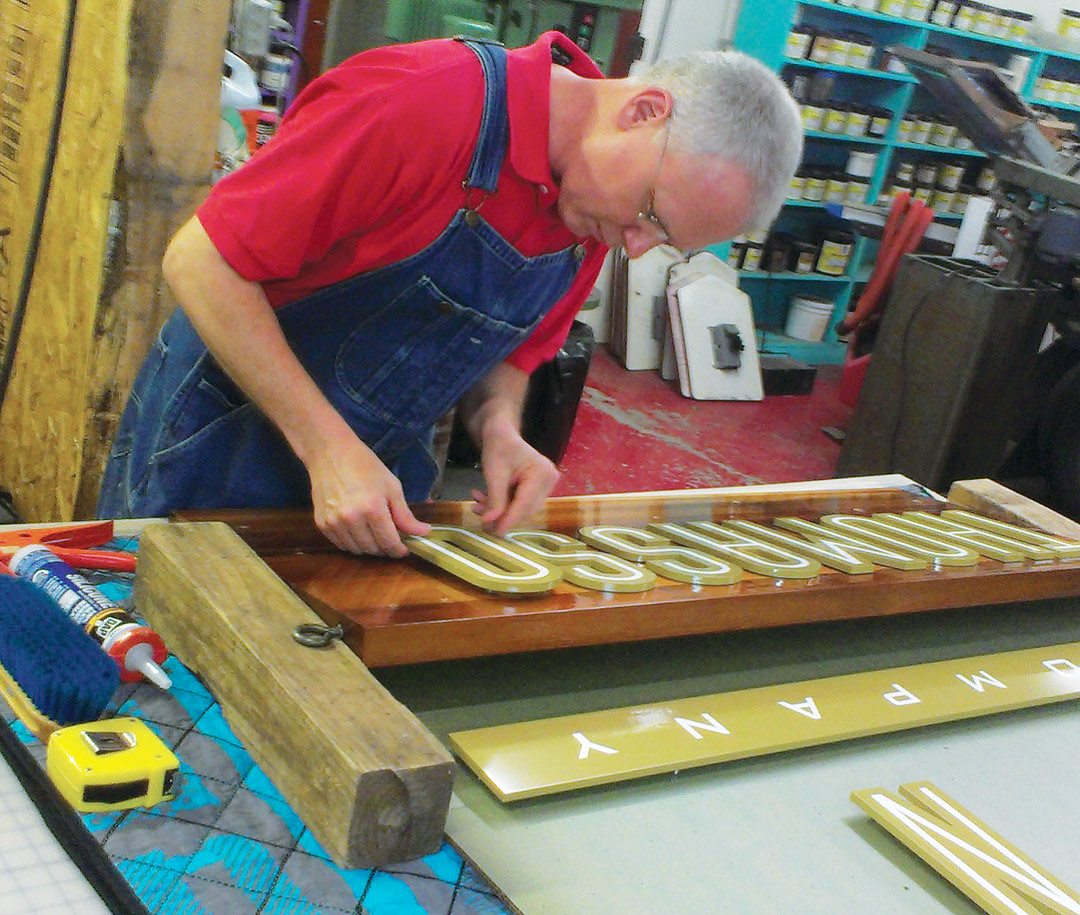
I used pure silicone adhesive to install the letters on the panel. An accurate drilling pattern makes it easy. You’ll get some squeeze out of silicone, but don’t try to wipe it off. Let it dry overnight and it can be easily cut off with an Xacto knife or just rubbed off.
I re-covered the steel posts with pressure-treated wood, mitered at the corners. Then I primed them with CPES before finishing with Sherwin-Williams Water Based Catalyzed Epoxy, which was tinted to the client’s requirements. It was easy to work with, but it’s a little different than working with oil-based paint.