By Michael James
Posted on Saturday, November 15th, 2025

Before the estimate and design stages of this project began, I asked the client for a budget range. The client needed the sign changed as soon as possible. I offered the client three designs and he accepted the third option.
Materials:
2 4-by-8 sheets 6mm black ACM: $322
10 yds. of 30-in. Gerber 220 high performance vinyl: $153
16 ft. of 15-in. Oracal 651 vinyl for cutting guides: $8
100 ft. of 8-in. transfer tape: $12
3 pieces of 1-by-1-by-1/16-in. aluminum angle: $61
3/16-in. drill bit (standard): $6
5/16-in. drill bit (standard): $12
5/16-in. masonry bit: $7
2 jigsaw blades: $13
7 ¼-in. 60-tooth circular saw blade: $22
36 plastic anchors/screws: $33
1 32-oz. bottle of 91% isopropyl alcohol: $6
Two 1-in.-by-11.1-yd. rolls of Scotch Extreme mounting tape: $60
Total: $715
Labor:
Initial site survey: 2 hours
Design and meet client: 4 hours
Cut background material: 6 hours
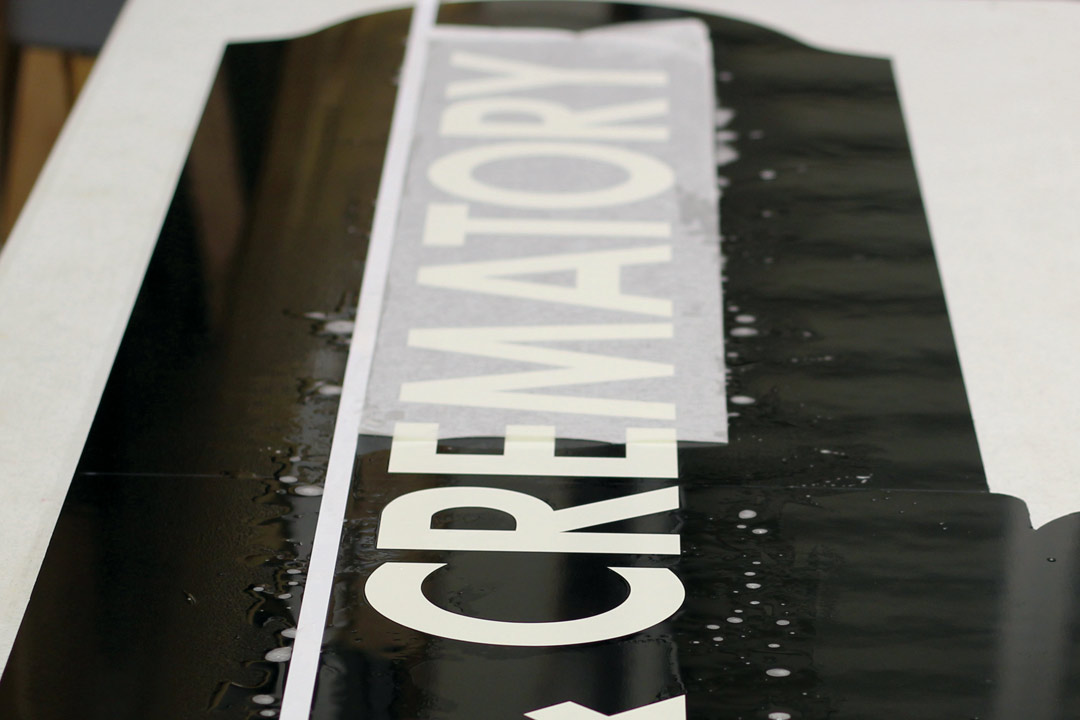
Cut and apply vinyl lettering and graphics: 4 hours
Installation: 4 hours
Total time: 20 hours
I approached this project facing several factors: time frame, cost, material availability and weather forecast.
Since getting the sign completed quickly was important, I chose aluminum composite material for the panel. It’s prefinished, so this saved the time of painting the background. ACM is also lightweight and easy to attach to the stucco-over-foam surface.
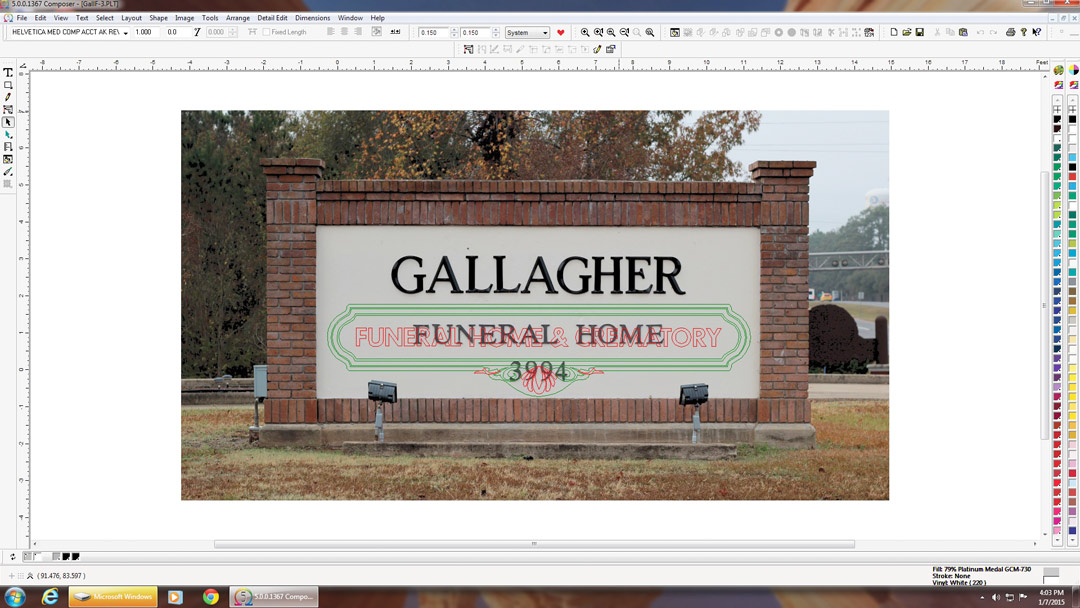
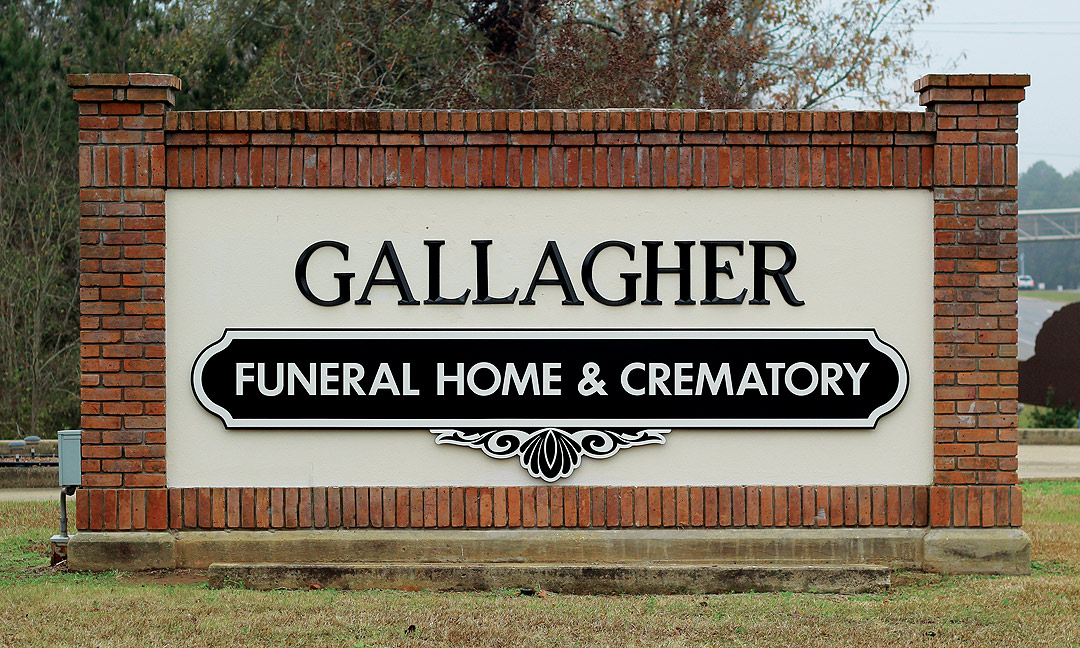
My first thought was to remove “Funeral Home”, which was in metal letters, leaving “Gallagher.” These were plastic formed letters that the funeral homeowner installed himself when he purchased the business. After a close look, the letters seemed to be attached with some type of epoxy so I decided to leave them alone. Removing them would take a great deal of time and would surely damage the stucco.
The weather forecast predicted rain and cold temperatures for the next two weeks. This prevented my using silicone or other adhesives to install the new signs, so I had to look to other options.
With all that in mind, I designed the new sign to cover the words “Funeral Home” and the address numbers.
Then it was time for fabrication. The straight cuts were made using a circular saw with a 60-tooth carbide-tipped blade. The shapes were cut with a jigsaw using a 36-tooth metal cutting blade. I also tried a wood cutting blade, which performed better. All cuts were made with the faces or “good side” facing down.
Instead of spraying adhesive on the back of a pen-on-paper pattern, I cut the shapes from low-cost vinyl film and applied it to the material. This provided a clean guide to cut by and will not peel up like paper. I used 3-in. foam padding underneath the material while cutting the shapes.
Since the sign was 135 inches long, two panels would need to be joined. A word to the wise: do not join the factory edges together (the 48-in. long ends). The ends seem to have slight irregularities that can make the seam more obvious. I cut a bit off and then butted the freshly cut pieces end to end. I was careful to plan the splices to fall between letters.
Instead of using dowels in the joint as recommended by the manufacturer, I simply cut a scab panel and attached to the back of the sign over the joint. I used Scotch Extreme 1-in. black double-sided tape to attach the pieces. This tape can support 20 lbs. and a 2-in. piece can hold 1 lb. It’s available locally at Lowes and Home Depot.
To determine the weight of the sign I calculated the total square footage. A 4-by-8-ft. sheet of 6mm Alumalite aluminum composite material weighs 25 lbs. or .78125 lbs. per square foot. After cutting the sheets to the desired shape, each sign weighed about 16 lbs., including the 1-by-1-by-1/16-in. aluminum angle attached to the back of the sign. The angle weighs only 2.2 oz. per linear foot.
Since the sign is very lightweight, it allowed for fasteners with low load-bearing requirements. The plastic wall anchors I chose were rated to hold 77 lbs. in drywall. Obviously the foam stucco would not support such heavy loads, but even at 10 percent of that it would easily support this sign.
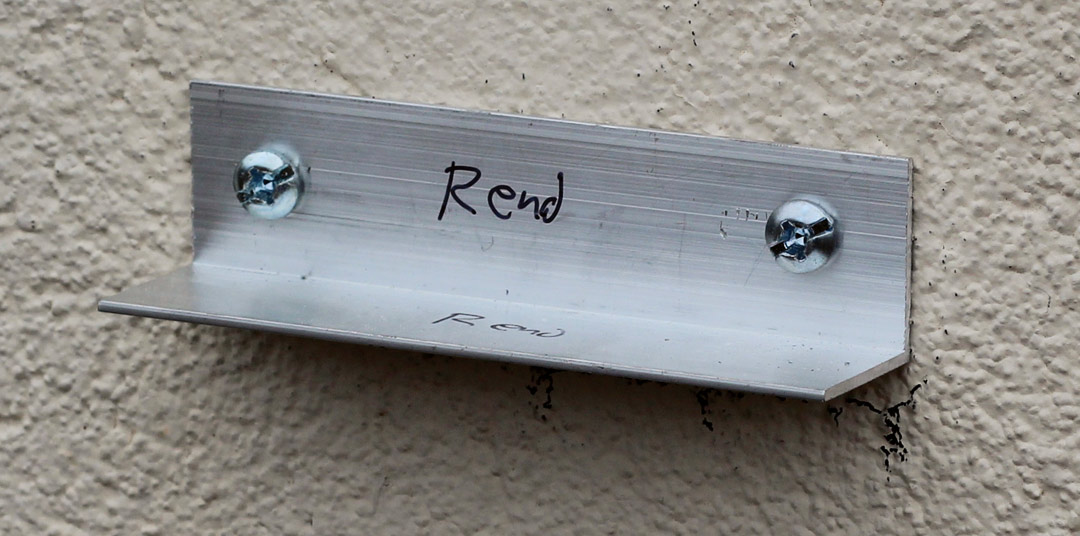
Since the sign would go over existing metal letters it needed to stand off from the stucco. Using Scotch Extreme tape, I attached pieces of 1-by-1-1/16-in. aluminum angle at the top of the sign, .5-in from the top edge. The manufacturer recommends riveting the angle to the back of the sign, but I didn’t want to drill through the face of the material. The tape is expensive, but it sure saves time compared to drilling holes and installing rivets. Shorter pieces were attached near the bottom of the sign.
Once the signs were finished at the shop it was time for installation. On site, measurements were made and holes were drilled to accommodate the drywall type fasteners used to mount the angle tabs.
Since the stucco-over-foam surface was only ¾-in. thick, masonry drill bits were needed to drill into the masonry wall behind the foam to allow for the length of the fasteners. I recommend using a regular drill bit to first make a clean hole in the foam before using the masonry drill bit. The masonry drill bit will make a jagged hole and the fastener will not fit snuggly in the stucco/foam layer.
Five 4-in.-long angle pieces were attached across the top, where the sign would be positioned. This would allow the angle on the back of the sign to rest on the tabs. Four 4-in.-long angle pieces were positioned at the bottom area of where the sign bottom would be positioned.
Once the tabs were attached, the sign was placed in position and fastened to the tabs with self-tapping screws. The screws would be hidden and no fasteners would be visible. I prefer not to have screws or other fasteners through the face of a sign.
With the help of two needle nose vise-grip tools to hold the sign in place, I was able to install the sign by myself. Had the wind been blowing, though, I would have needed a helper. The client was pleased with my work, and I was happy to finish my last project of the year.
Michael James’s shop, Apple Signs, is in Pineville, Louisiana. You’ll find him online at www. askapplesigns.net.
This appeared in the March/April 2015 issue of SignCraft. While the prices have been adjusted for inflation as of 2025, they may not accurately reflect current pricing for such signage.
Site visit/design/meet with customer: 6 hours I designed the new sign to cover the existing copy on the monument so that I wouldn’t have to remove the old letters.
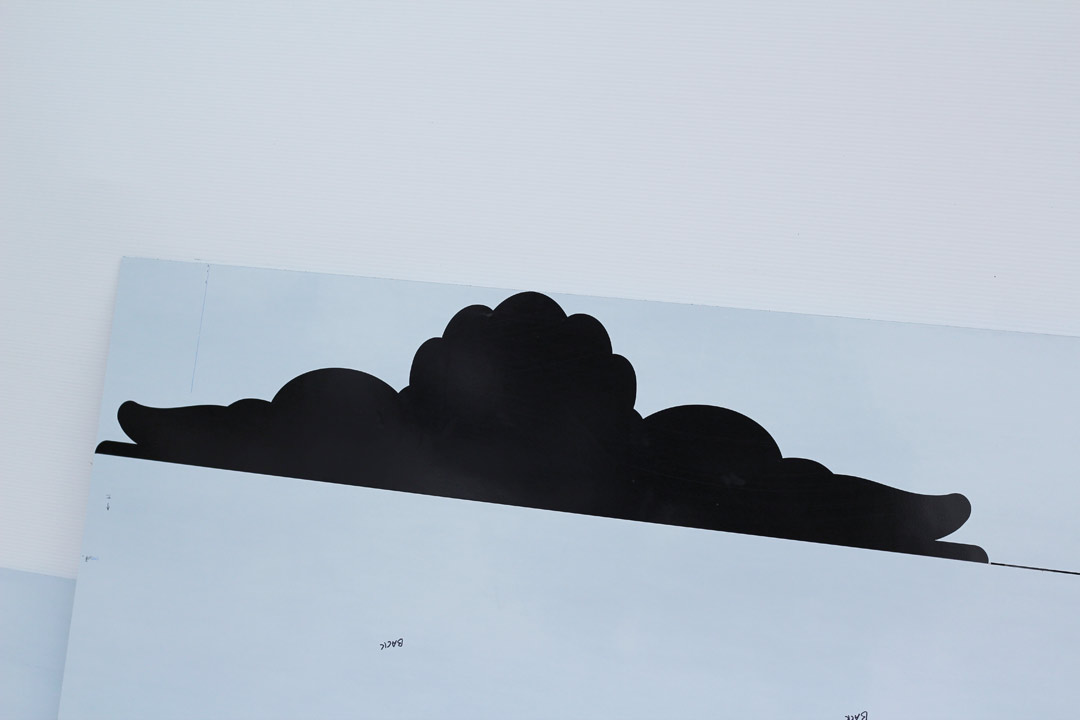
Cut background material: 35 minutes I made the straight cuts with a circular saw with a carbide-tipped blade, then cut the ends and bottom scroll shape with a scroll saw.
Aluminum angle tabs installed in the stucco-over-foam with hollow wall anchors were used to hold the sign face.
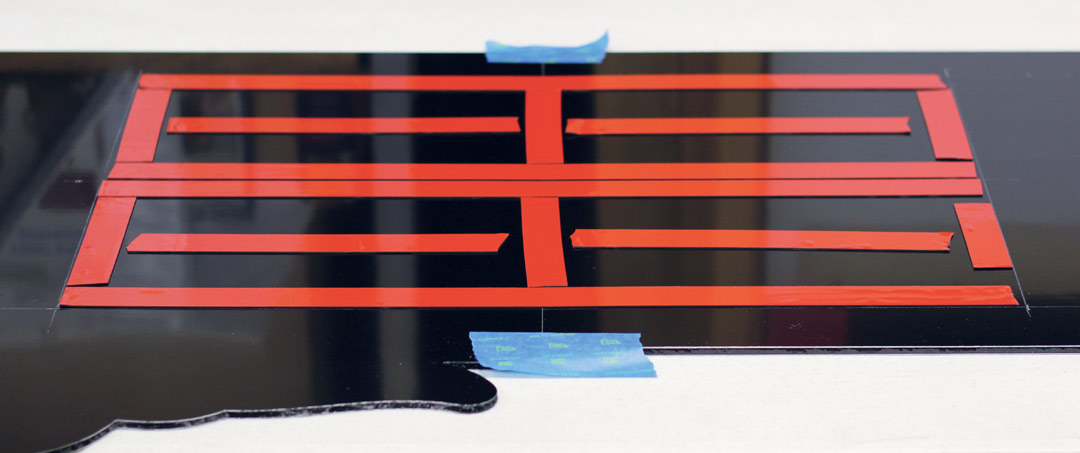
Scotch Extreme Mounting Tape was used to bond a scab panel behind the seam.
Cut/apply vinyl lettering and graphics: 4 hours The sign is double-faced, so I had to cut and apply two sets.
Installation: 4 hours On site, I installed the aluminum tabs, positioned the sign on them, then screwed through the aluminum angle that was bonded to the sign into the tabs using self-tapping screws.
