
By Braun Bleamer
Posted on Saturday, May 30th, 2026

We do all the 3-D signs for this customer, and this particular project was for the entry to their new lodge. We worked closely with the wrought iron designer who did a lot of other work on the project, including the entry. Our task was to produce four 3-by-3-ft. sandblasted single-faced signs and a set of cutout letters.
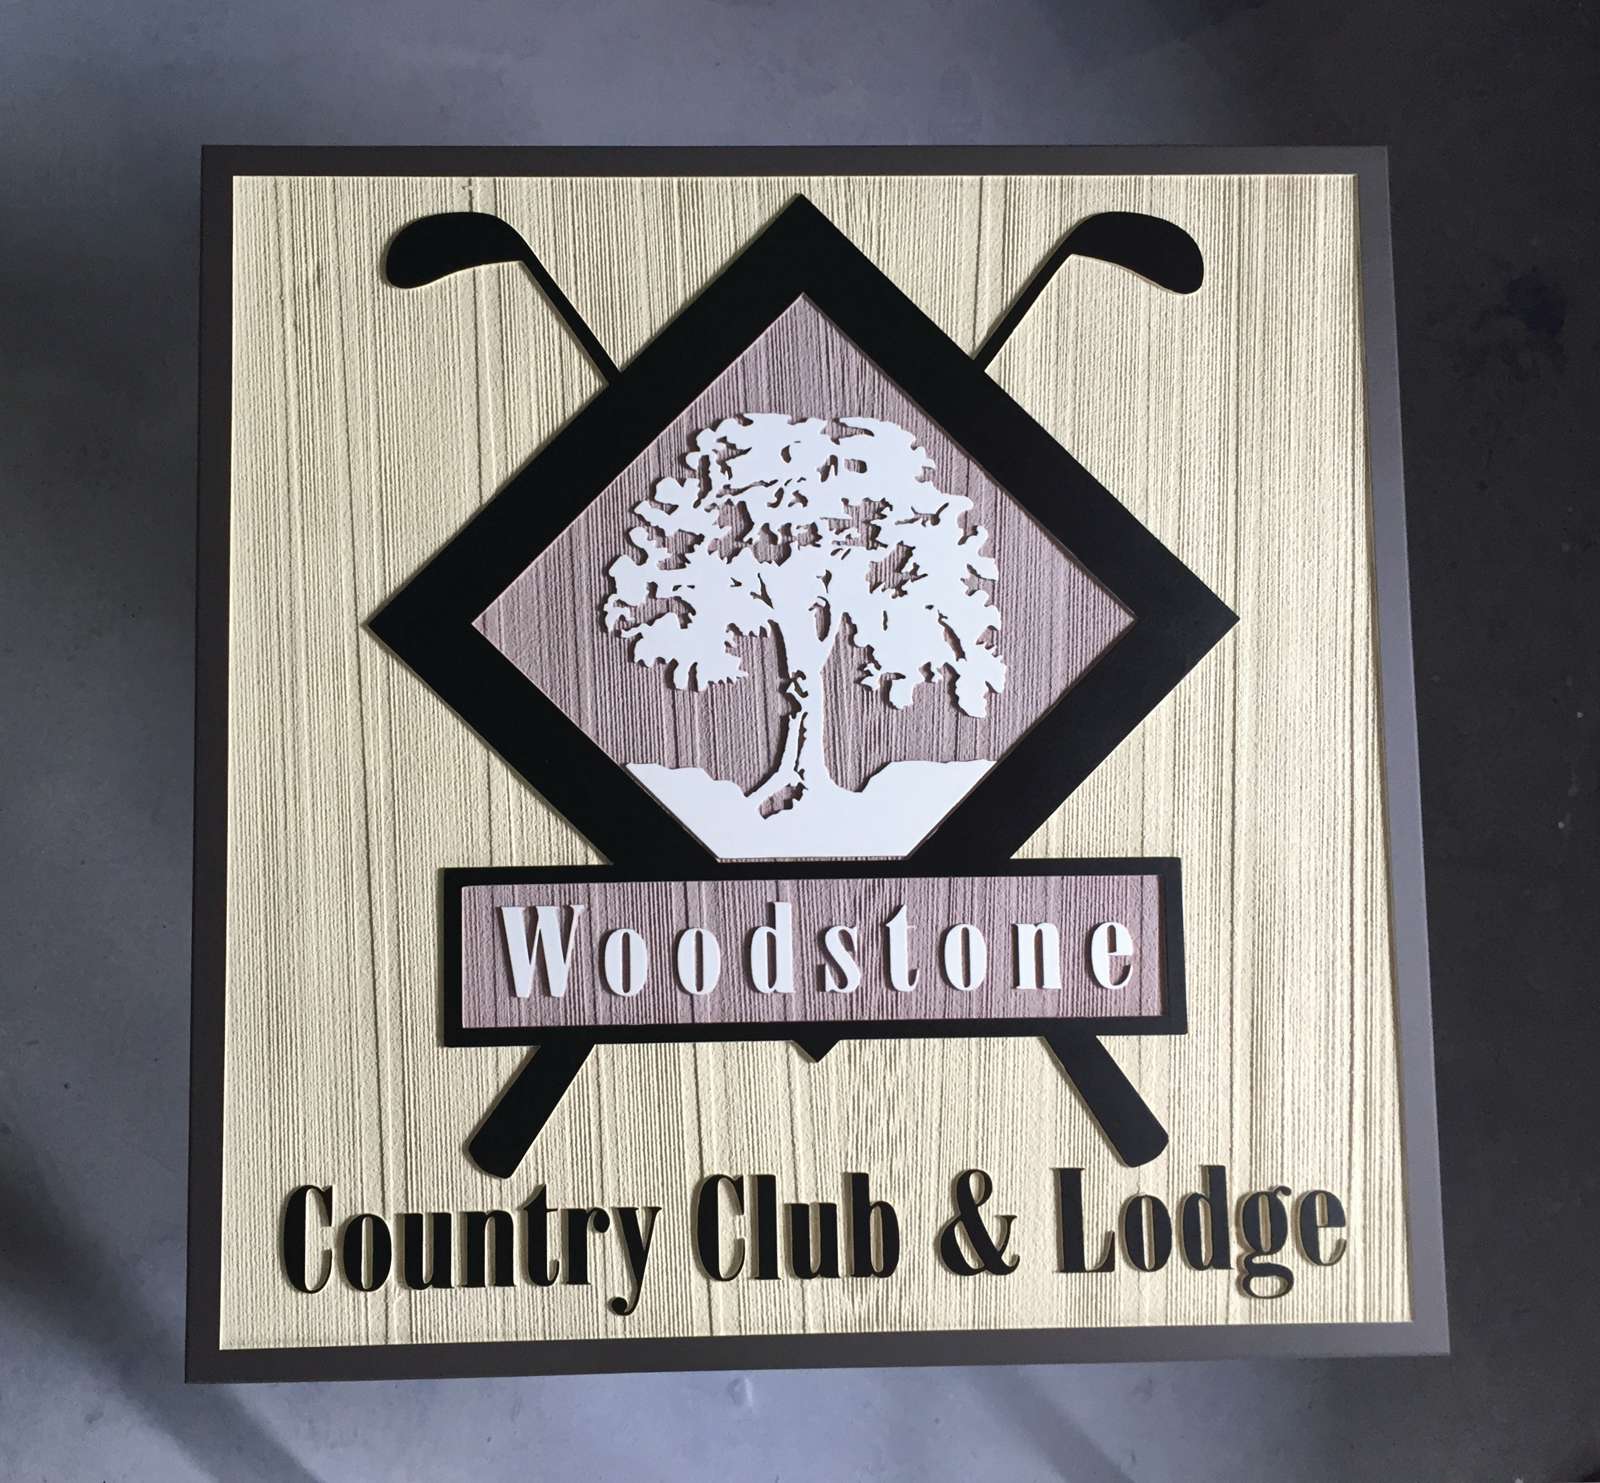
Materials:
4×10 ft. sheet of SignFoam HDU board: $565
Sandblast mask: $103
Clear coat: $172
Paint and misc.: $103
Total materials: $943
Labor:
Consult/design: 1 hours
Cut and prep panels: 1.5 hours
Cut and apply mask: 3 hours
Sandblast: 2 hours
Paint and clear coat: 6.5 hours
Install: 1.5 hours
Total man-hours: 15.5 hours
There were four stone columns at the entry, and we did a sandblasted sign on 15-lb. SignFoam HDU board for each one. Two of the columns supported a beam structure that went over the entry road, and the letters went on that beam.
Our production approach on sandblasted signs like these is pretty straightforward. This job was on HDU board, so we blasted to the depth we wanted, then blasted through the Grain-Fraim to create the texture in the background.
We spray the backgrounds with acrylic latex enamel, and finish the raised areas with oil-based enamel, using a brush. We wet sand the raised surfaces then spray the whole sign with PPG Matte automotive clear. These projects go through the shop pretty smoothly, and make very durable graphics for the customer.
Braun Bleamer’s shop, Jet Signs Inc., is in Palmerton, Pennsylvania.
This appeared in the November/December 2015 issue of SignCraft. While the prices have been adjusted for inflation as of 2026, they may not accurately reflect current pricing for such signage.
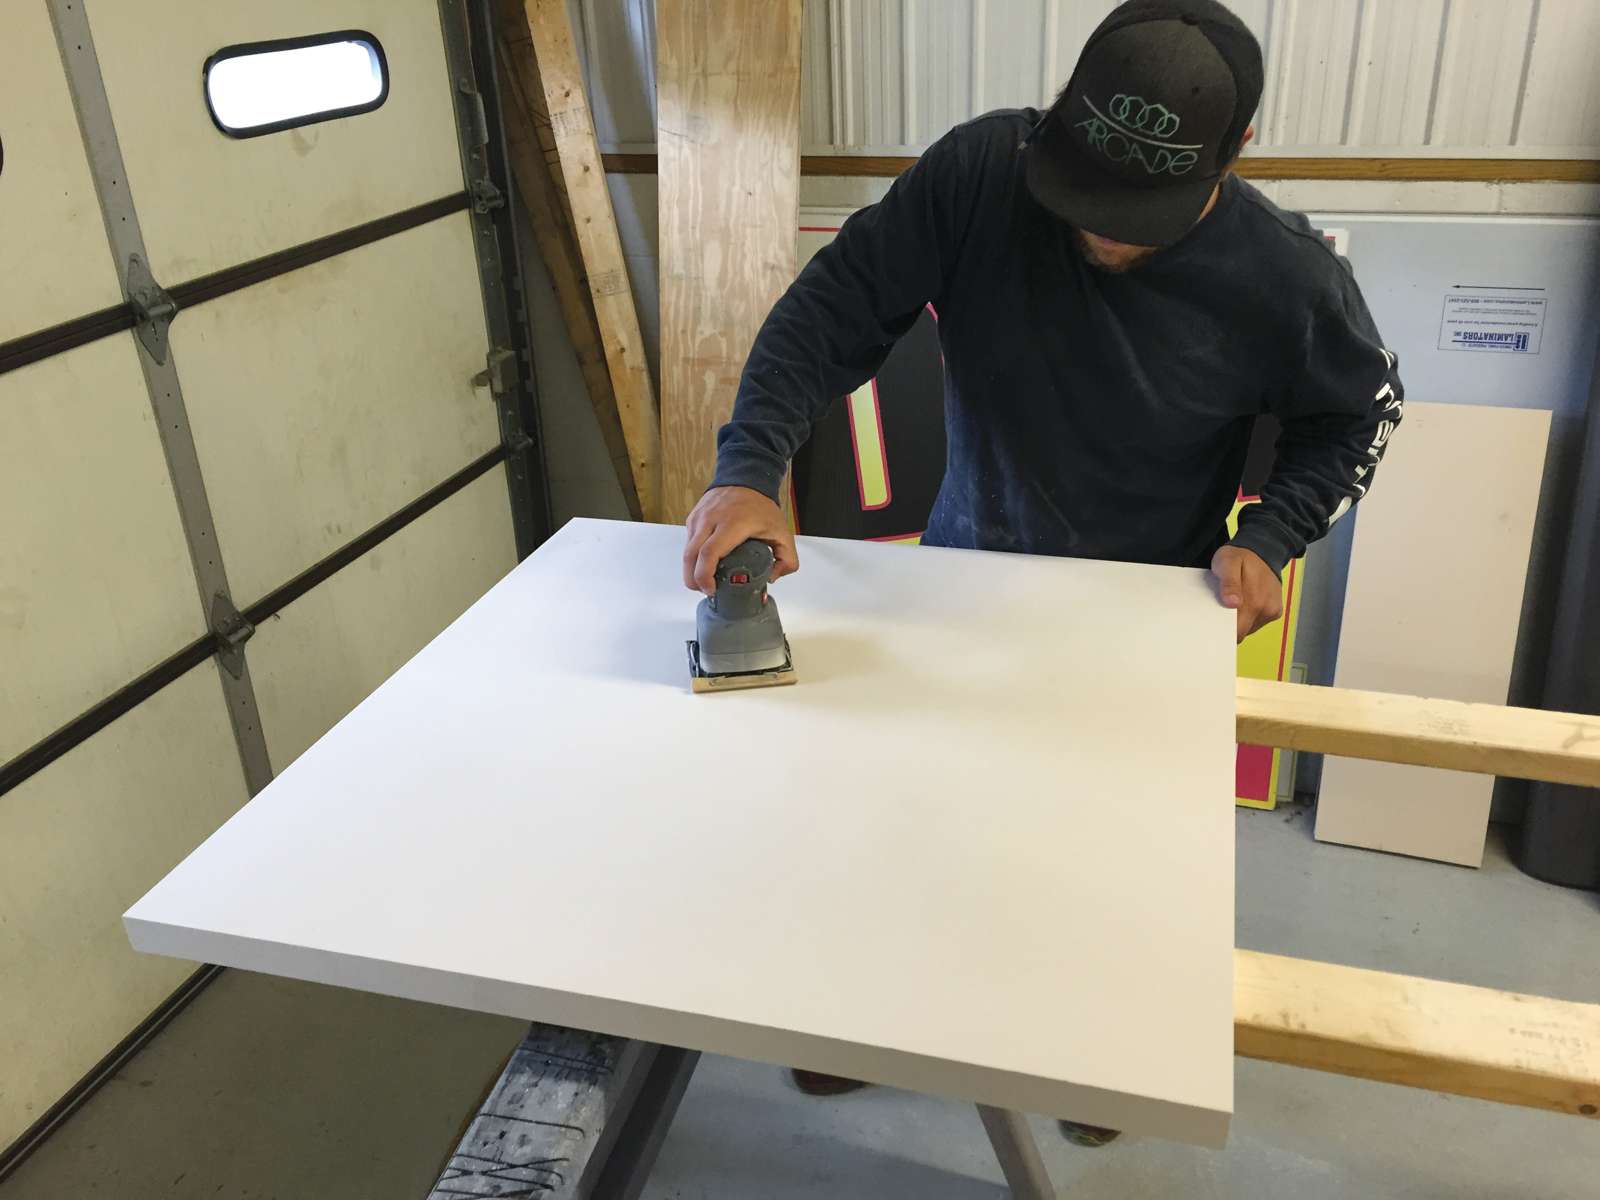
Cut panels to shape, sand, wash and prep for masking: 1.5 hours To minimize waste, I cut three panels from a 4-by-10 sheet of SignFoam HDU board. Then I edge glued the last panel together from the off-cut piece, using West systems epoxy.
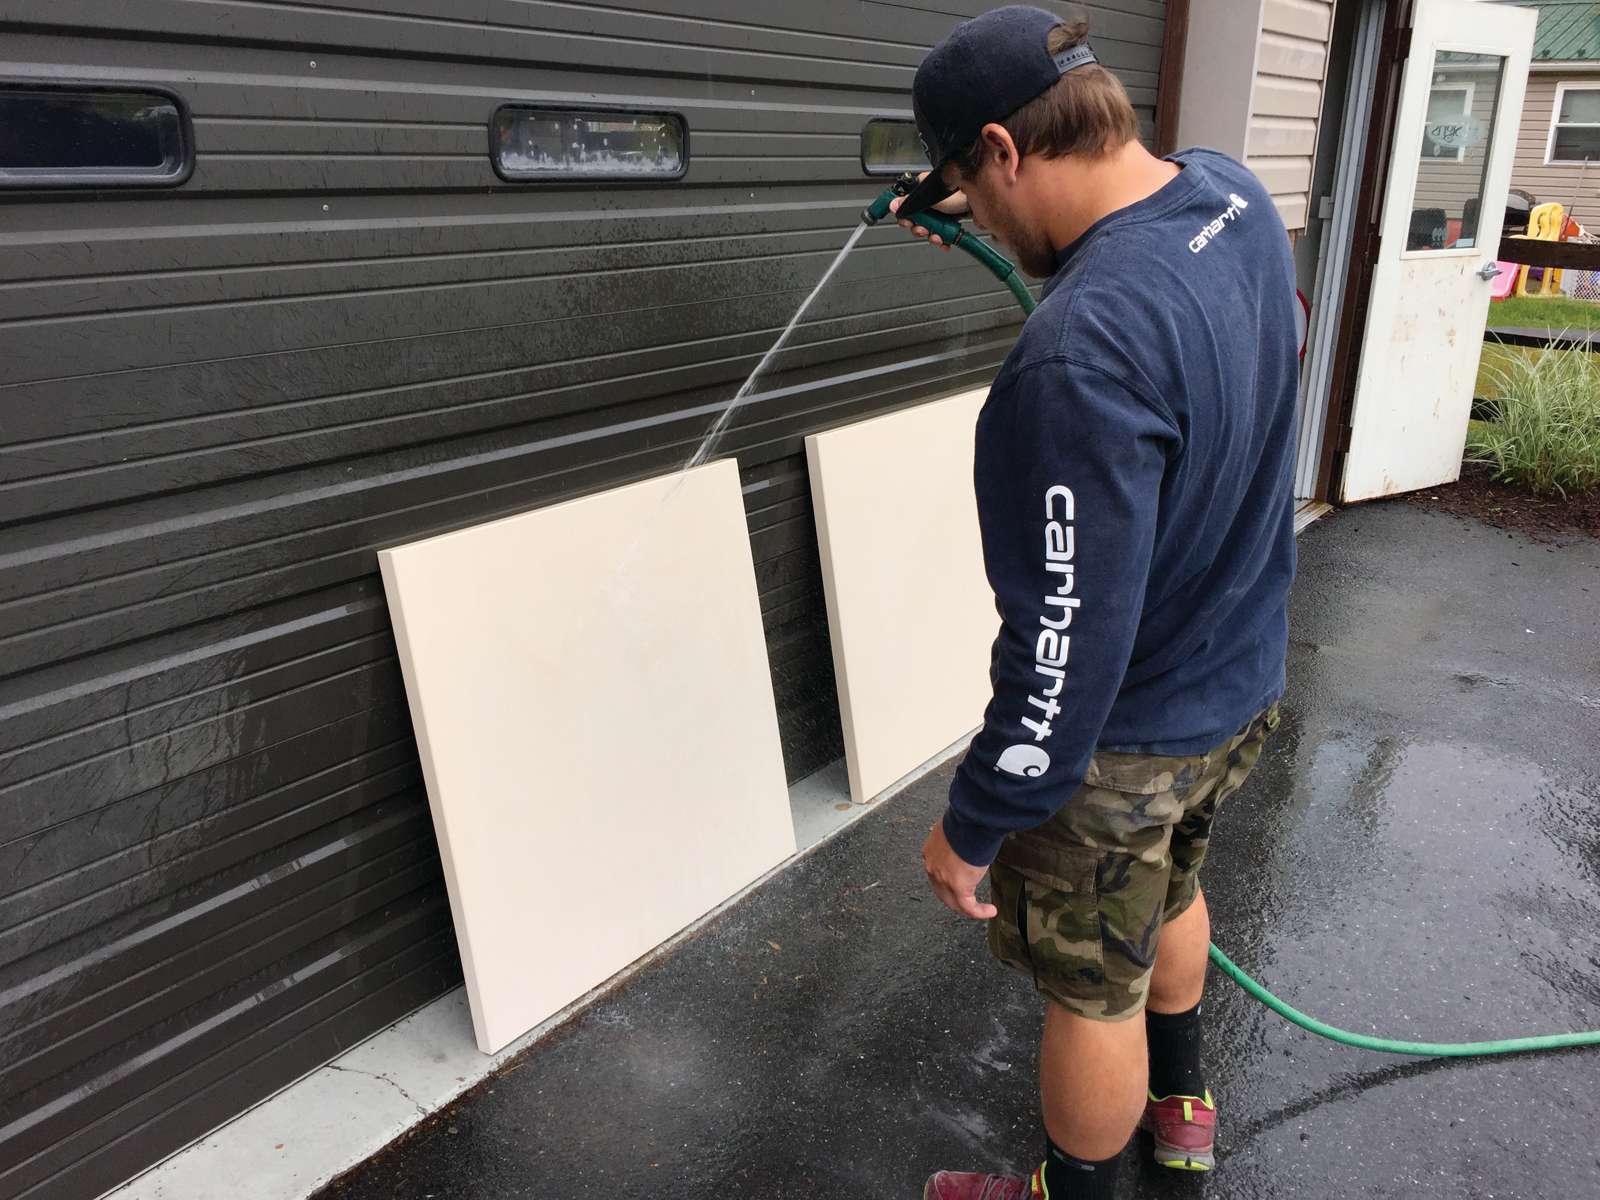
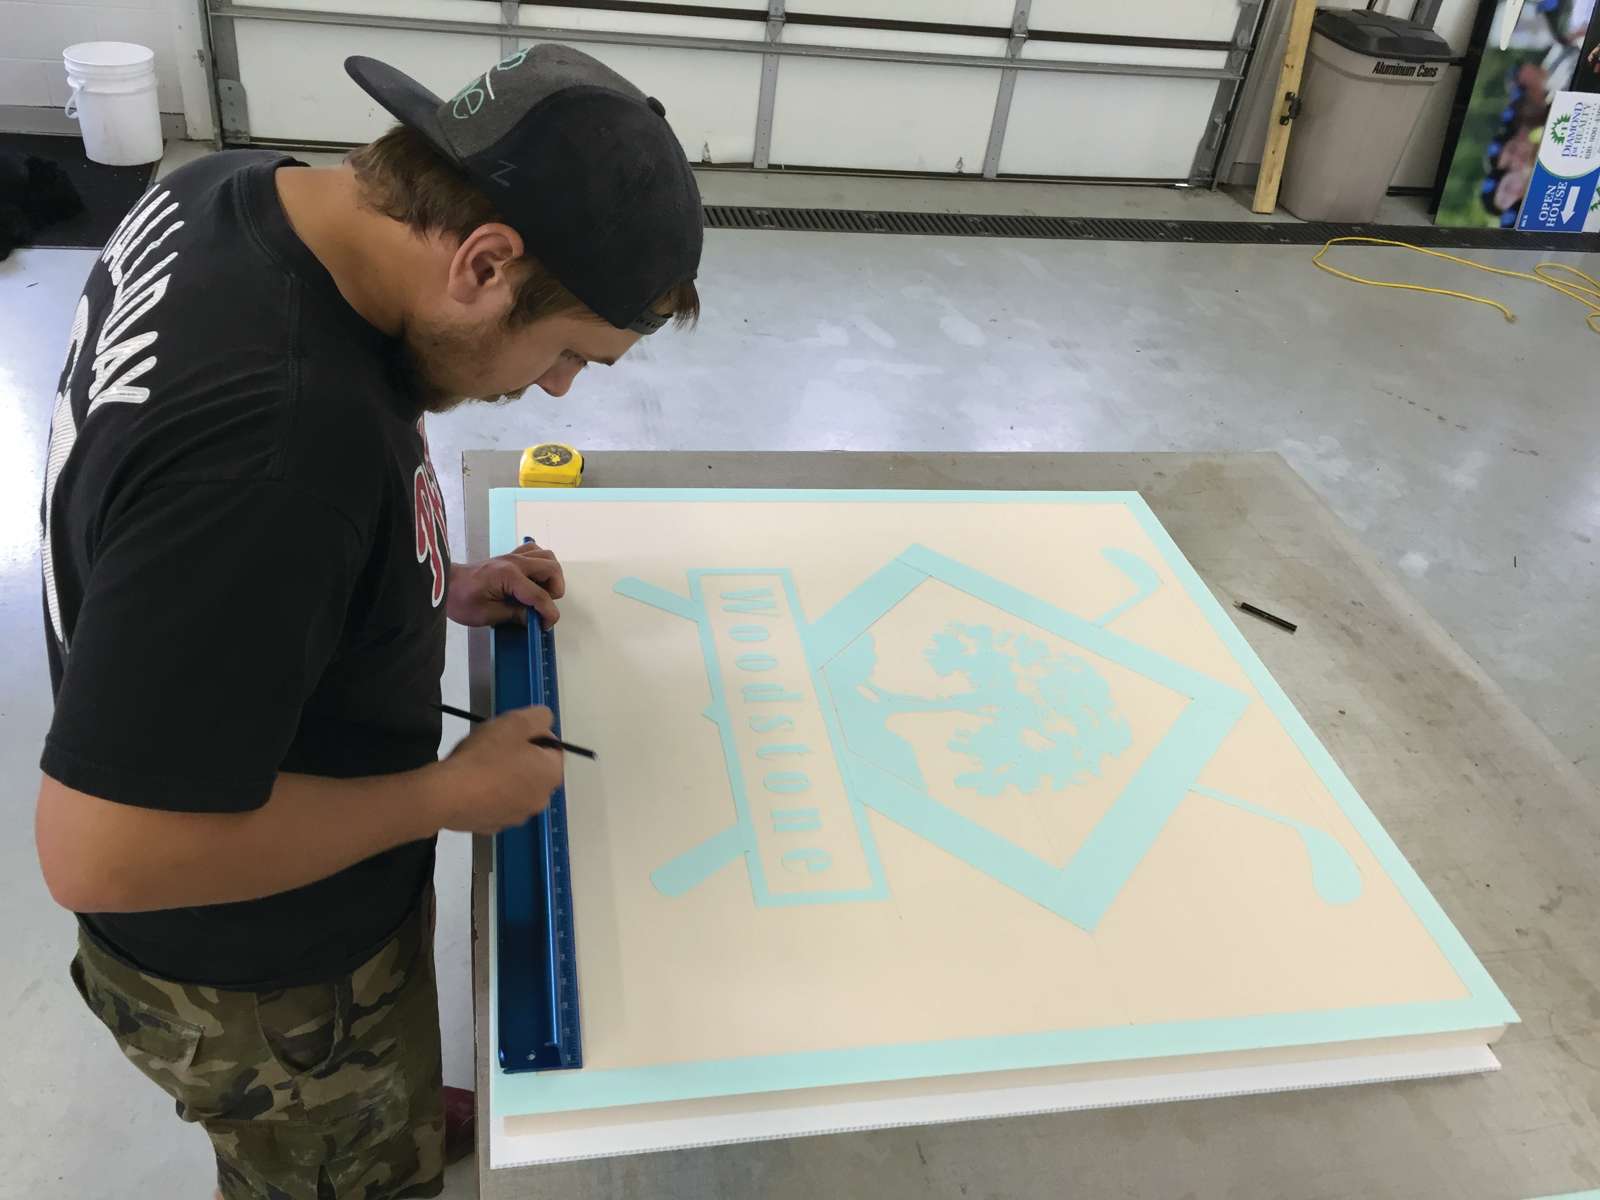
Cut and apply masking: 3 hours After sanding we hosed off the panels, let them dry, then masked them with Hartco 425 sandblast mask that had been cut on our Graphtec plotter.
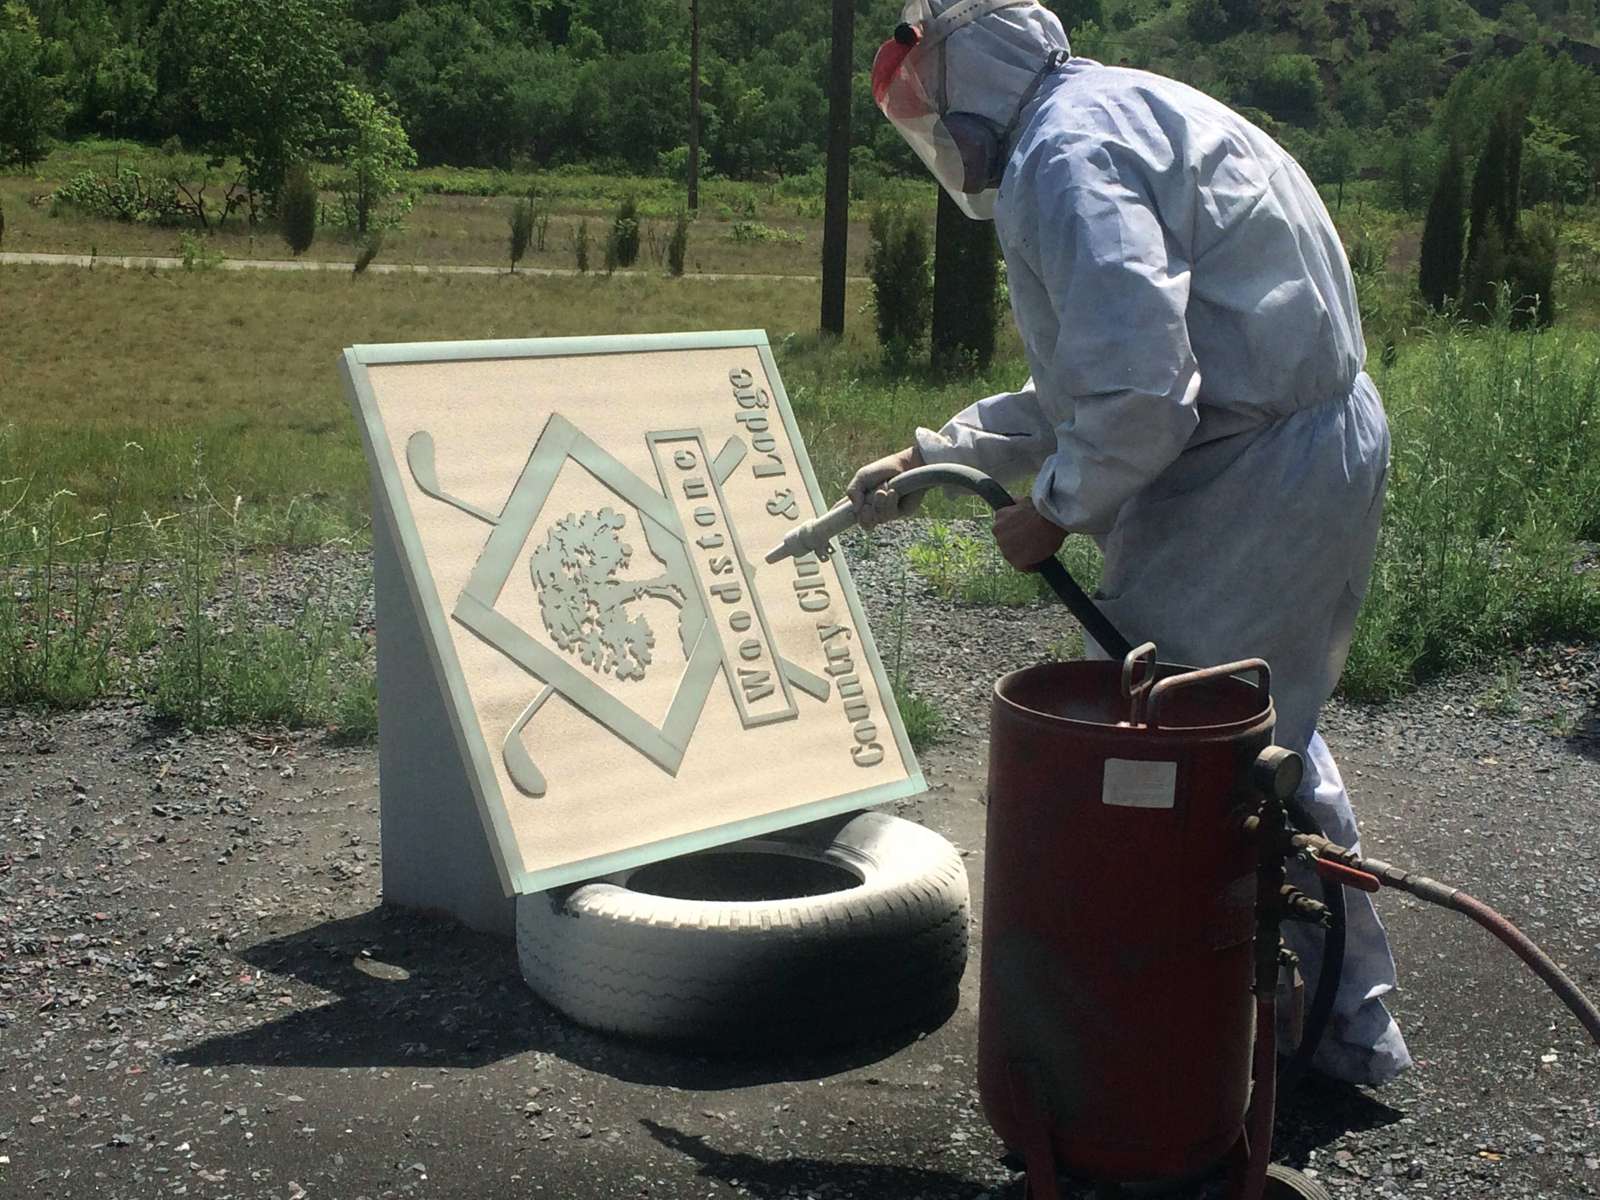
Sandblast panels: 2 hours We sandblasted to the desired depth before adding the texture to the background.
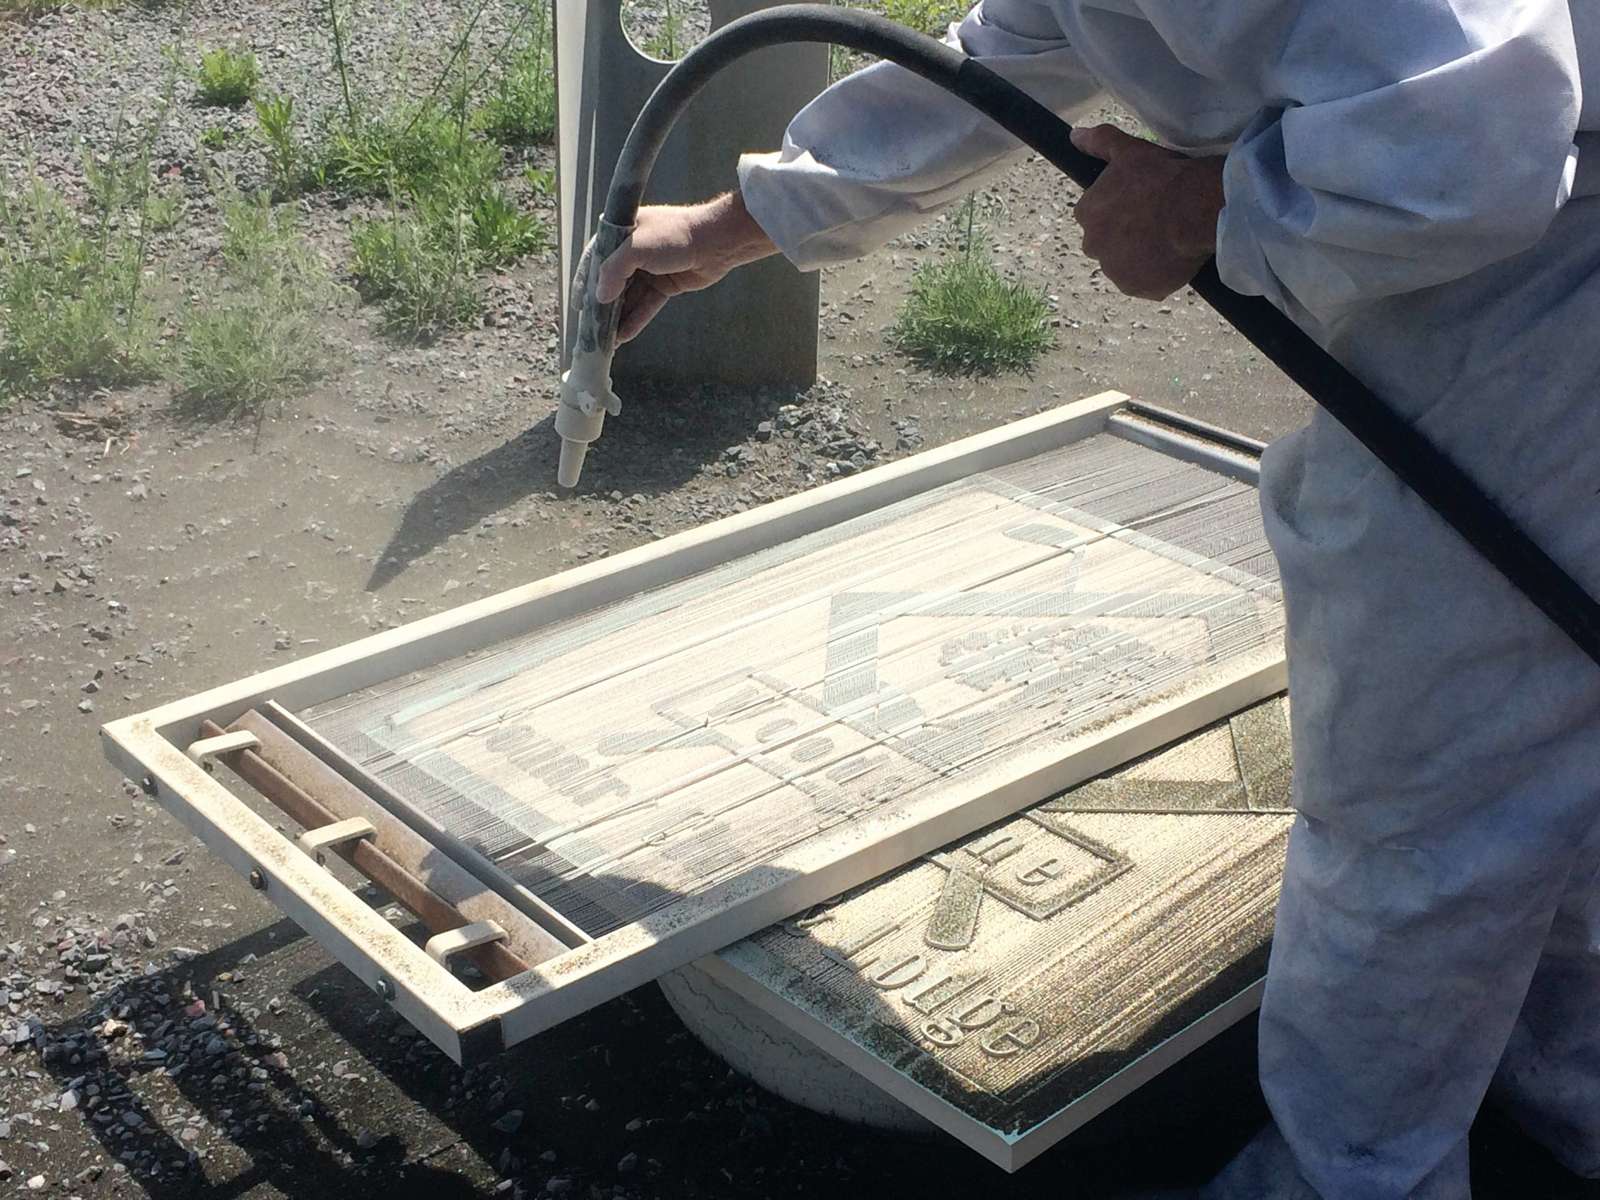
We laid the Grain-Fraim on the panel and blasted through it to add the texture. We had made sure that the glue joints in the laminated panel went the same direction as the wood grain texture.
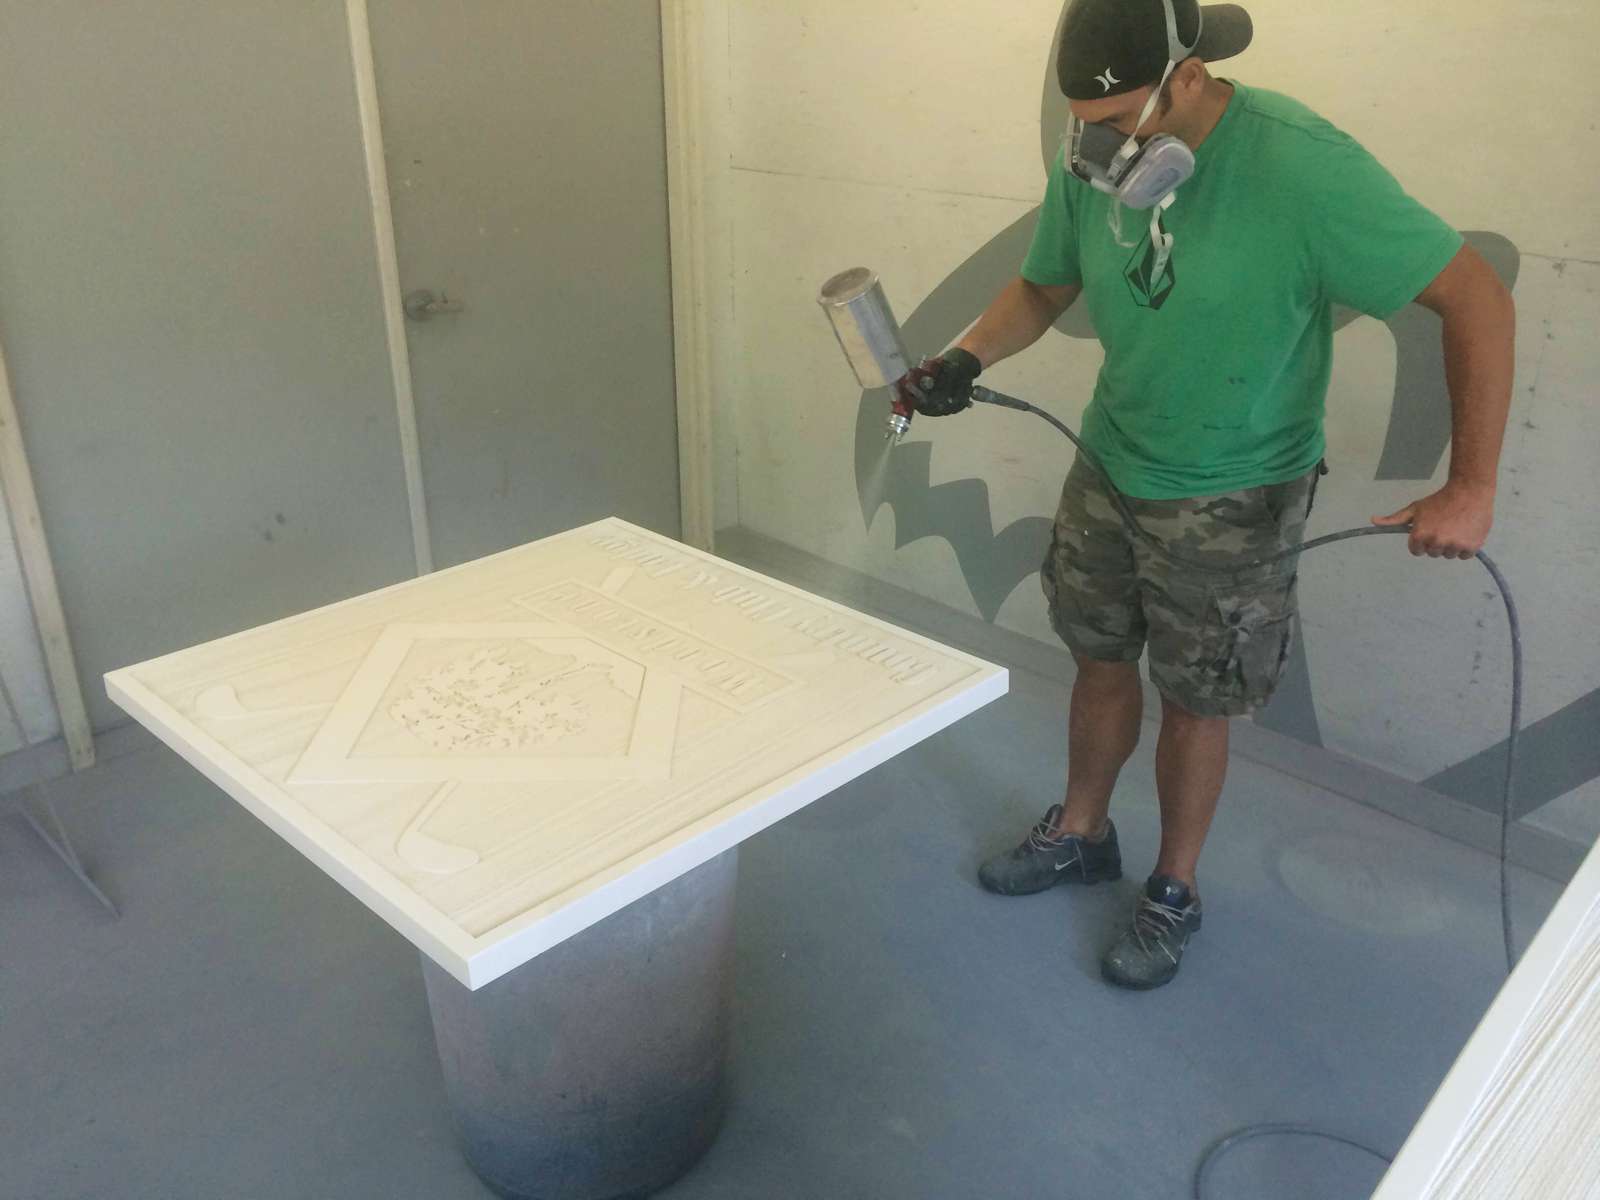
Spray ivory background color: 1 hour We sprayed the backgrounds with acrylic latex enamel.
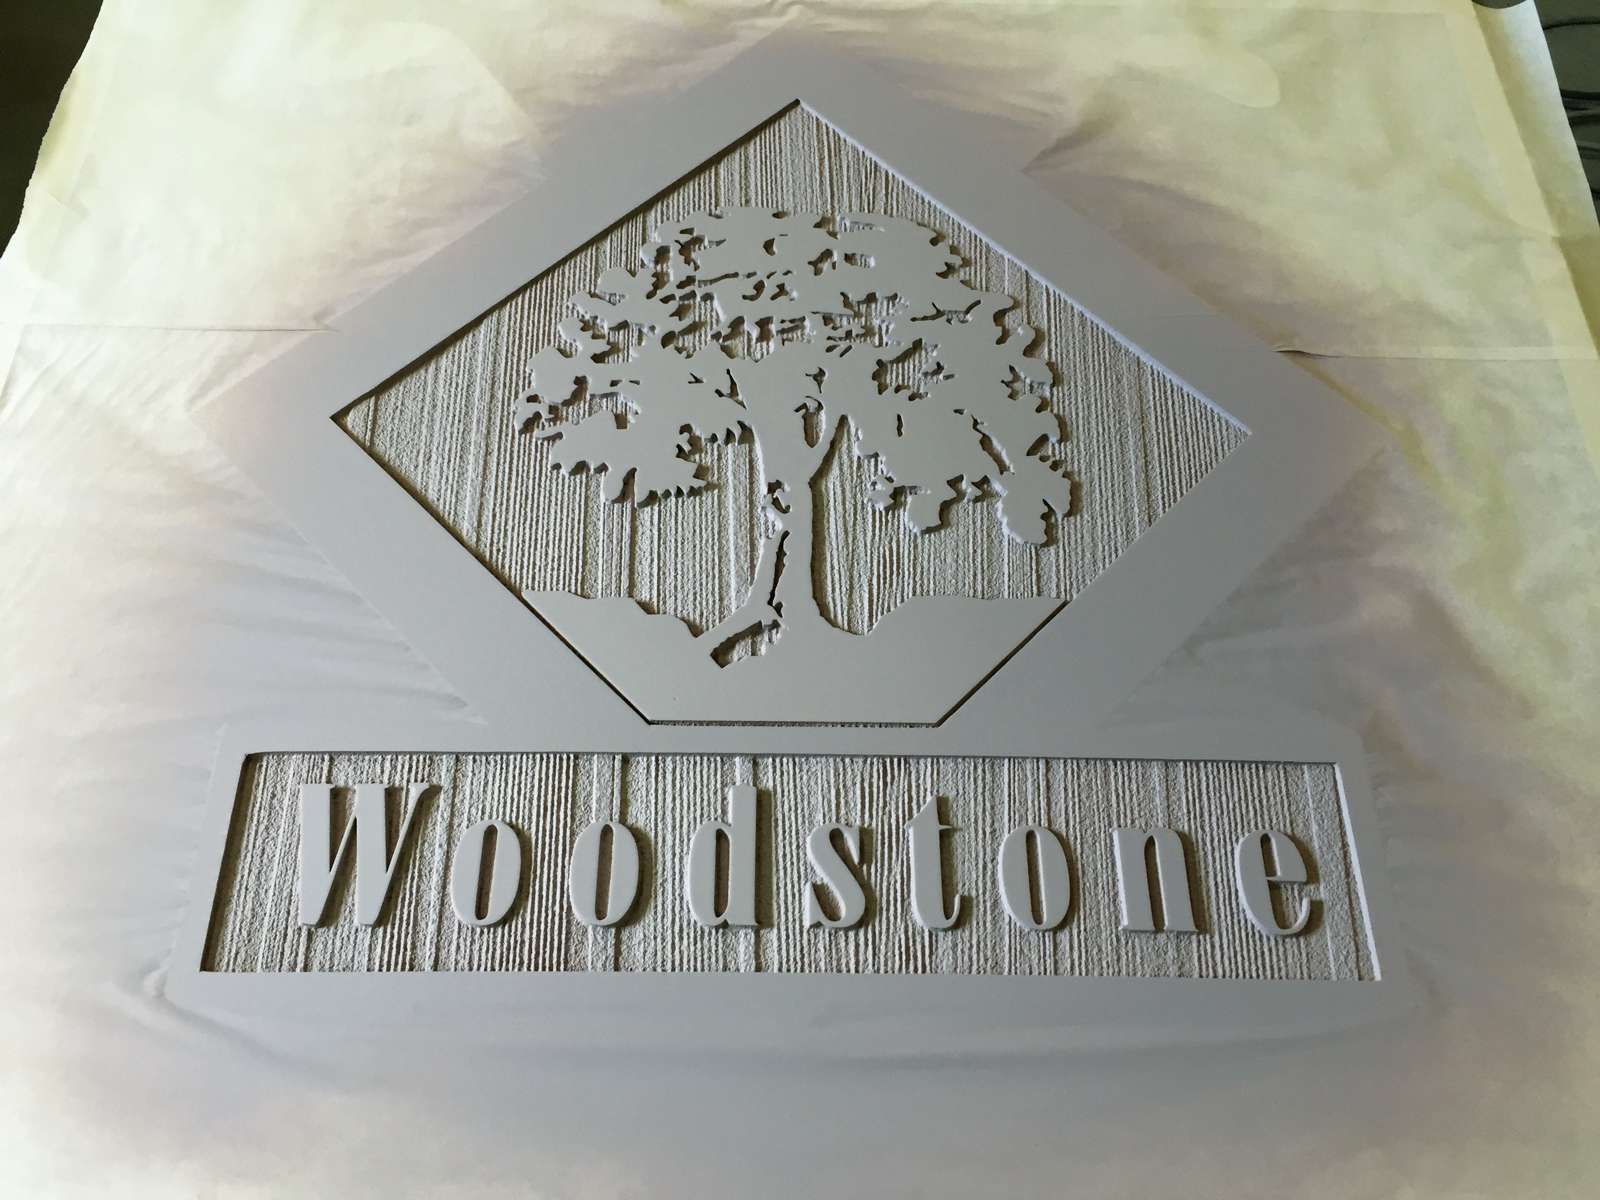
Brush two coats on all raised surfaces: 4 hours We sprayed the darker tan background color and removed all the masking. Then the raised areas got two coats of oil-based enamel, and wet sanded.
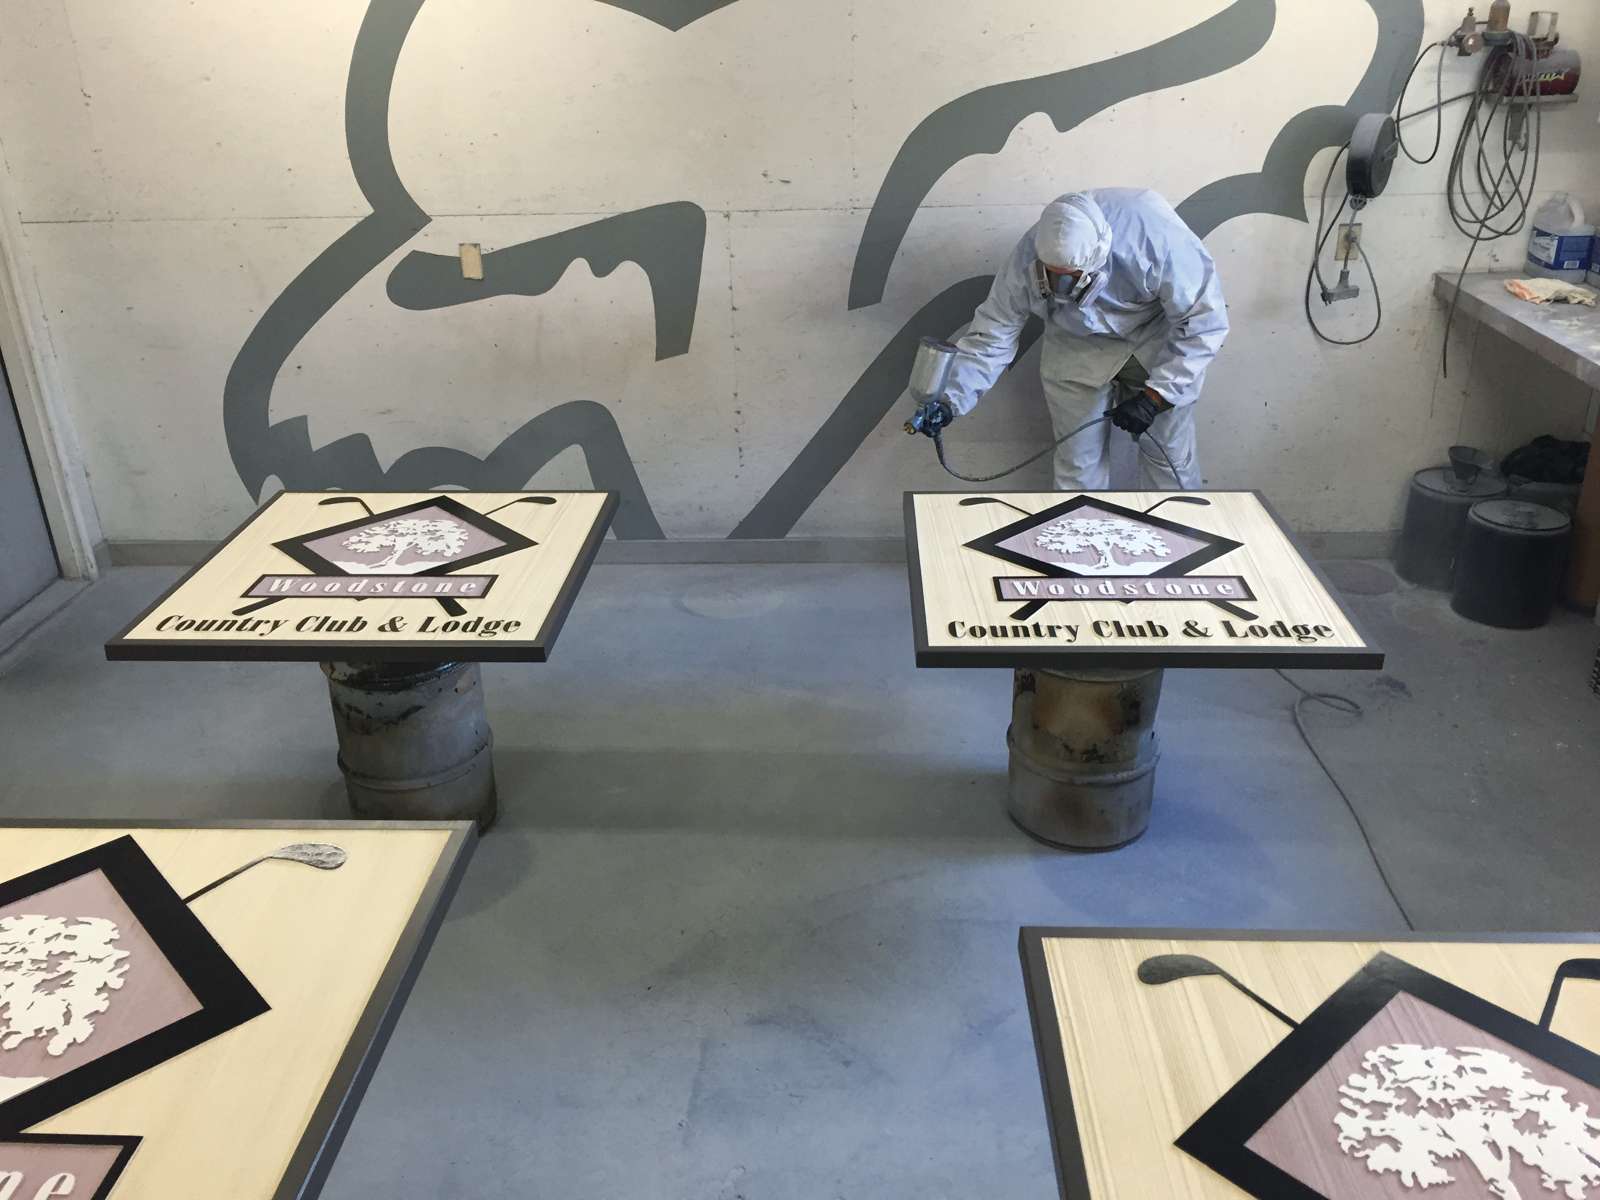
Spray clear coat: .5 hour Once the painting was complete, the whole sign got a coat of PPG Matte clear automotive finish.
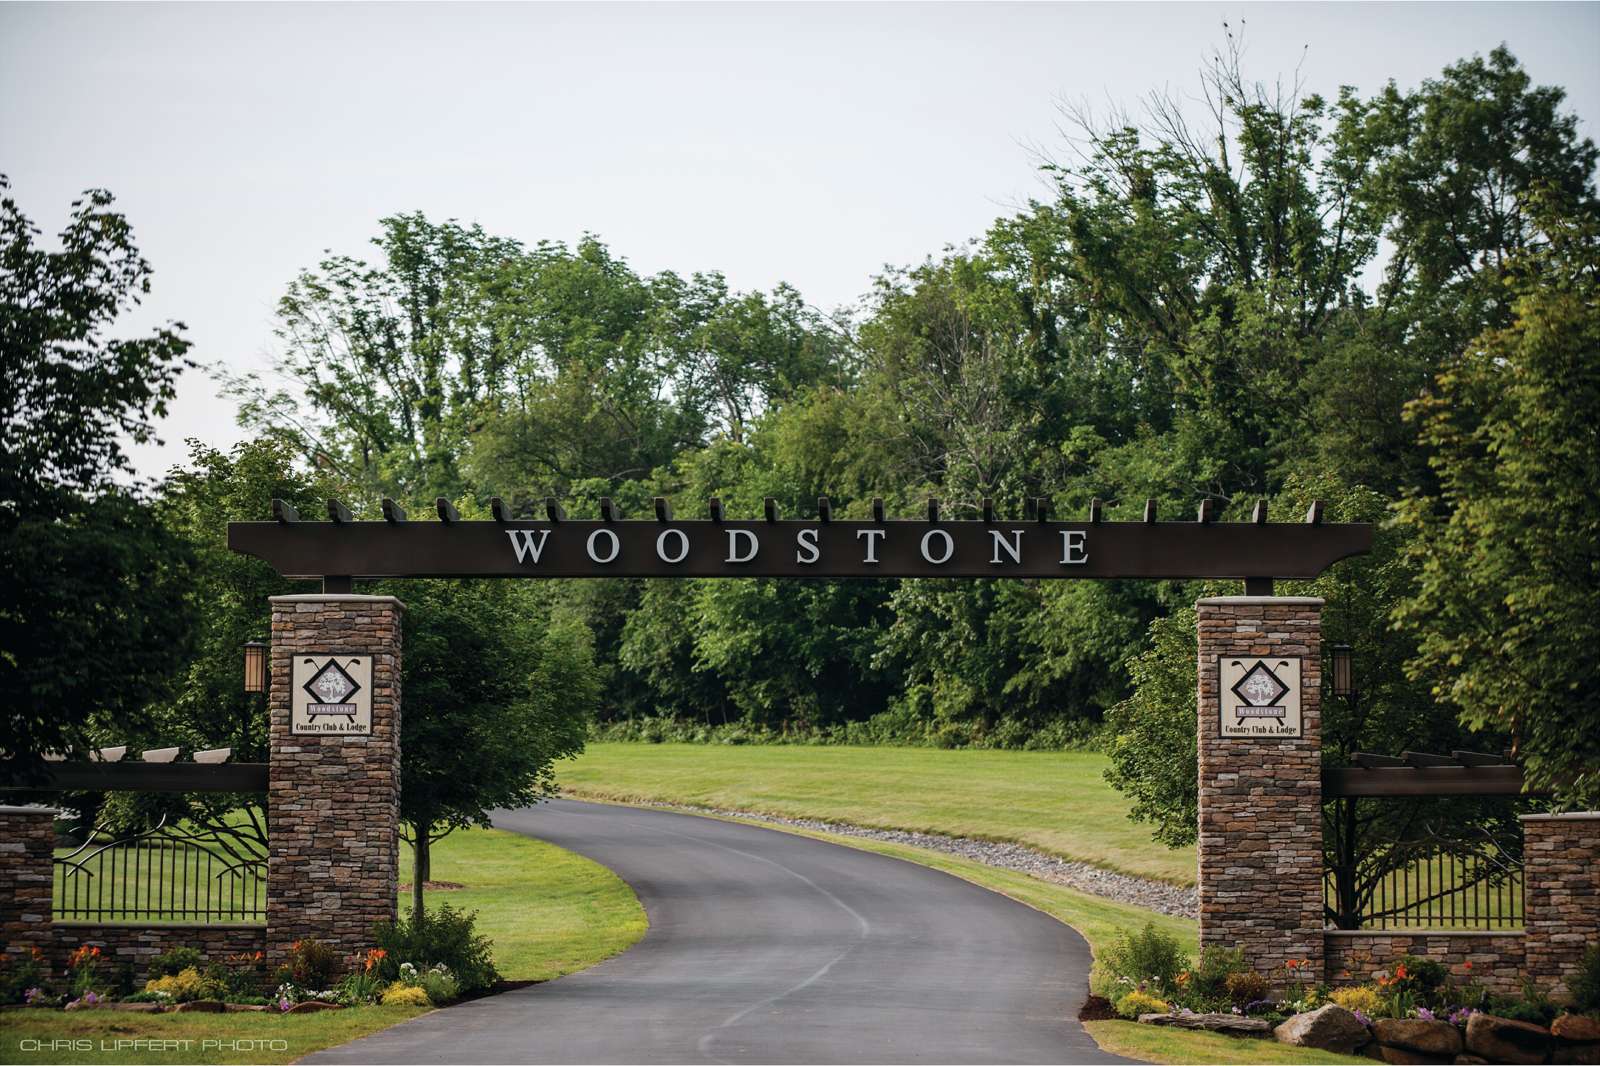
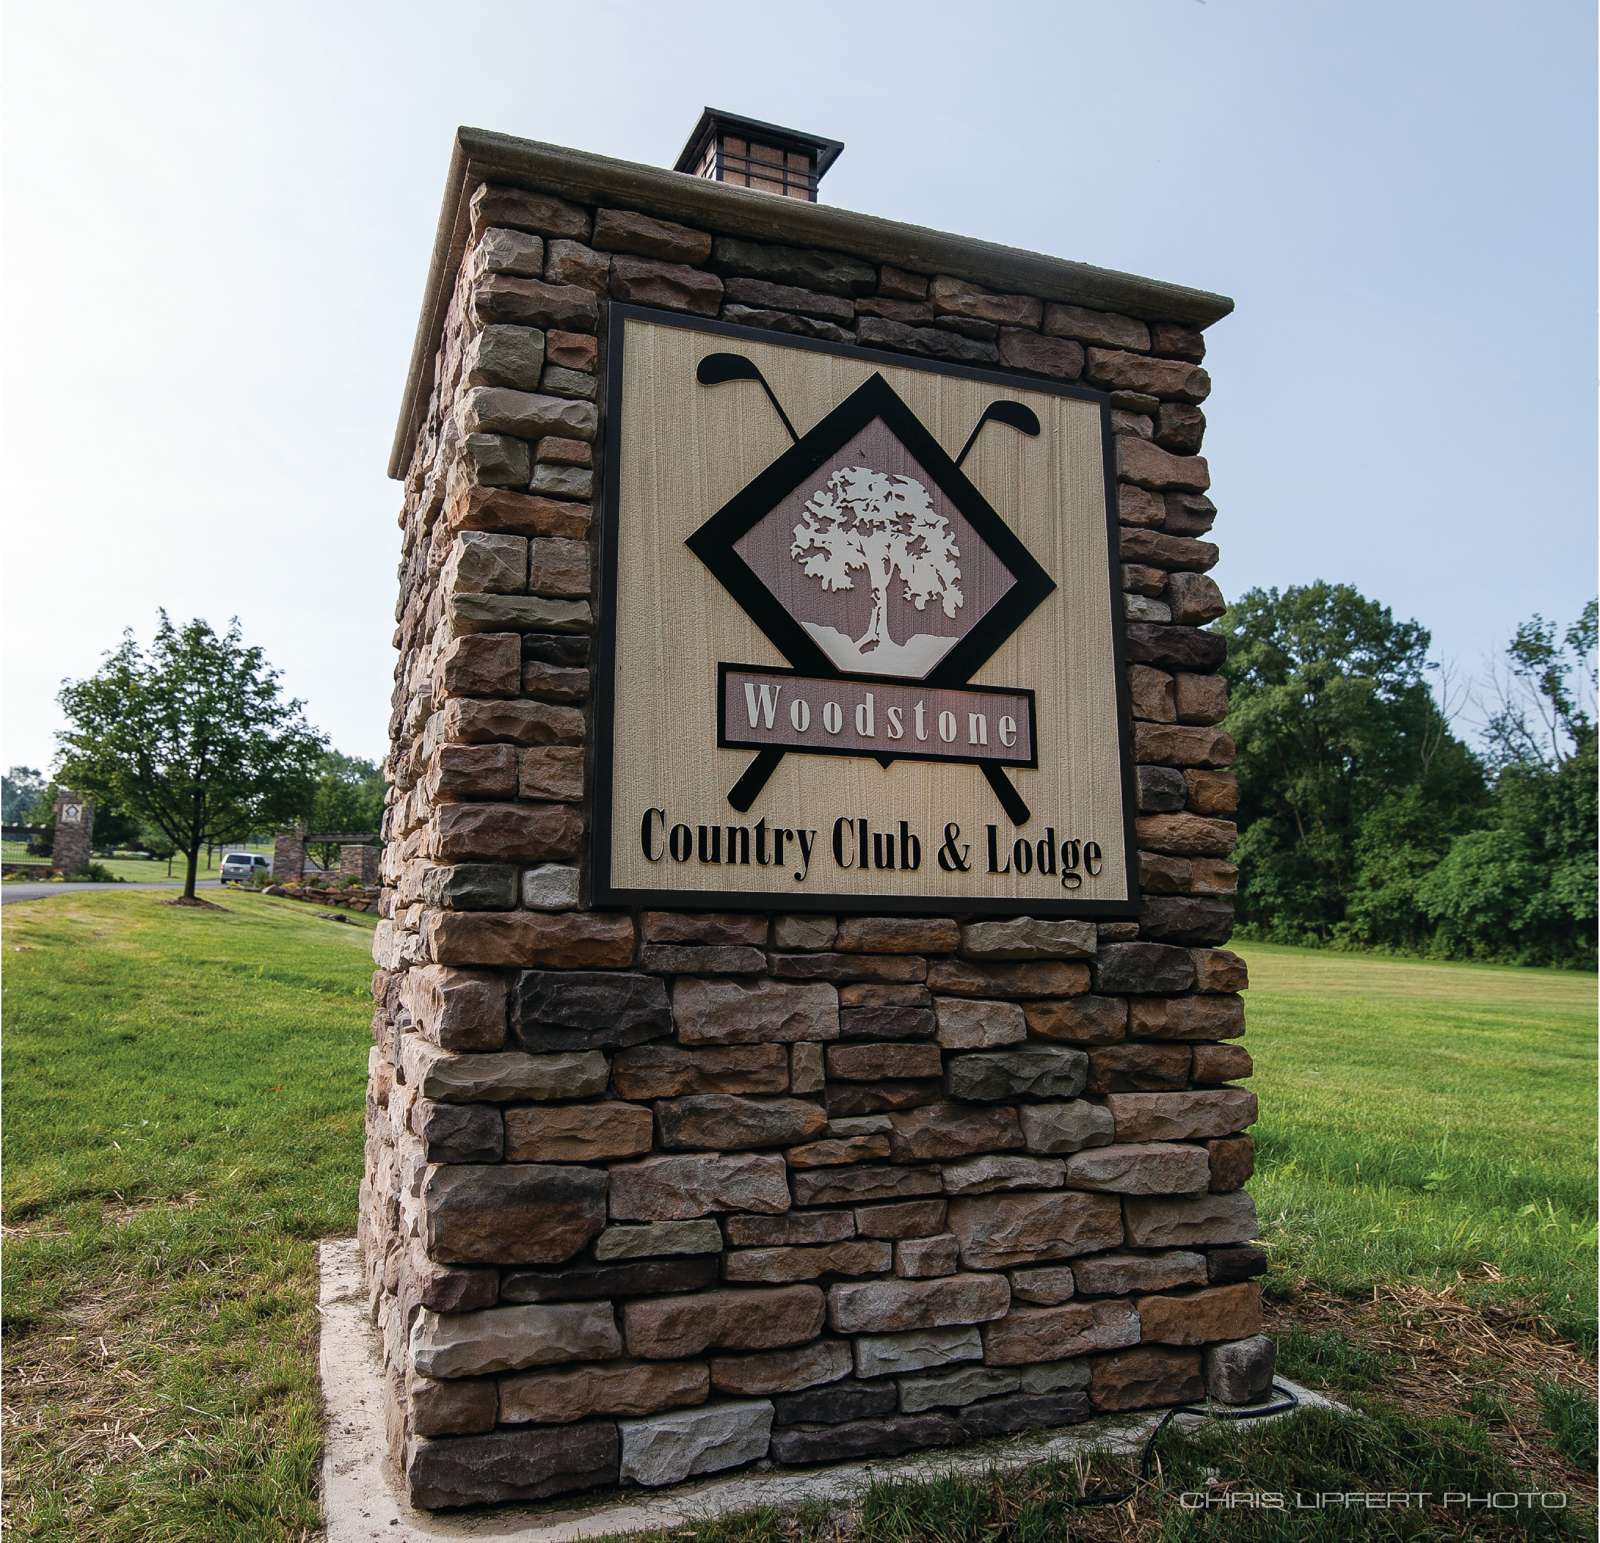
Delivery and installation: 1.5 hours In this case, the installation was quite close, about 10 minutes from the shop. The signs were installed by installing Tapcon masonry fasteners at each corner into the cement block monument. The heads were cut off, leaving 1-in. of exposed threads. The sign was held against these studs and tapped to mark the HDU board. The sign was then drilled slightly smaller than the stud. The holes were filled with Gorilla Glue and the sign was tapped onto the studs.


